Introduction
Welcome to this in-depth tutorial from Nextrader, your ultimate platform for intelligent, automated trading. This guide is designed for both novice and experienced traders looking to harness the power of automation on Deriv's Volatility Indices. Specifically, we'll walk you through the process of setting up Nextrader's Auto Trader Bot to automatically trade the Deriv Volatility 75 Index using Rise/Fall contracts. Our focus will be on leveraging the sophisticated Mesa Milano money management system for smart loss recovery, providing a robust approach to automated trading.
By the end of this tutorial, you will have a clear, step-by-step understanding of how to configure your Nextrader account to execute trades on your behalf, utilizing advanced AI strategies and intelligent risk management. This empowers you to engage with the markets efficiently, without constant manual intervention, and to explore the full potential of Nextrader's cutting-edge deriv trading tools.
Whether you're new to deriv bots or looking to optimize your existing binary bots setup, this guide will provide the actionable insights you need to get started with automated trading on the Volatility 75 Index.
What You Need Before Starting
- A Deriv.com Account: You'll need an active Deriv account (either real or demo) to connect with Nextrader.
- A Nextrader.live Account: Sign up for your 100% free Nextrader account at app.nextrader.live/signup. No subscriptions, no paywalls, all features unlocked.
- Basic Understanding of Rise/Fall Contracts: Familiarity with how Rise/Fall contracts work on Deriv will be beneficial, though Nextrader simplifies the execution.
- Deriv API Token: You'll need to generate an API token from your Deriv account to securely link it with Nextrader.
Step 1: Connecting Your Deriv Account to Nextrader
The first crucial step is to establish a secure connection between your Deriv trading account and the Nextrader platform. This enables Nextrader to execute trades on your behalf.
Get Live AI Trading Signals
Real-time non-repaint signals from 11 AI strategies — Volatility Indices, Forex, Gold & Crypto. No subscription, no paywall.
- Auto Trader Bot
- Digit Trader Bot
- 11 AI Strategies
- Live Telegram Signals
1. Log in to Nextrader: Go to app.nextrader.live and log in to your Nextrader account.
2. Navigate to Broker Connection: Once logged in, look for the "Broker Connection" or "API Settings" section, typically found in your profile or dashboard settings.
3. Generate Deriv API Token:
* Log in to your Deriv account.
* Go to "Settings" -> "API Tokens".
* Click "Create a new token".
* Grant the necessary permissions: "Read", "Trade", and "Cashier" are usually sufficient for bot trading.
* Copy the generated API token.
4. Paste Token into Nextrader: Return to Nextrader, paste your Deriv API token into the designated field, and click "Connect" or "Save". Nextrader uses Deriv WebSocket API integration (App ID 67545) for seamless and secure communication.
5. Verify Connection: Once connected, Nextrader will display your Deriv account balance (real or demo) and indicate a successful connection. Nextrader supports multi-account functionality, allowing you to manage several Deriv accounts from one Nextrader dashboard if needed.
Step 2: Selecting Volatility 75 Index and Rise/Fall Contract Type
With your Deriv account connected, it's time to tell the Auto Trader Bot what market and contract type you want to trade.
1. Access the Auto Trader Bot: From your Nextrader dashboard, locate and click on the "Auto Trader Bot" section. This is where you configure your automated trading strategies.
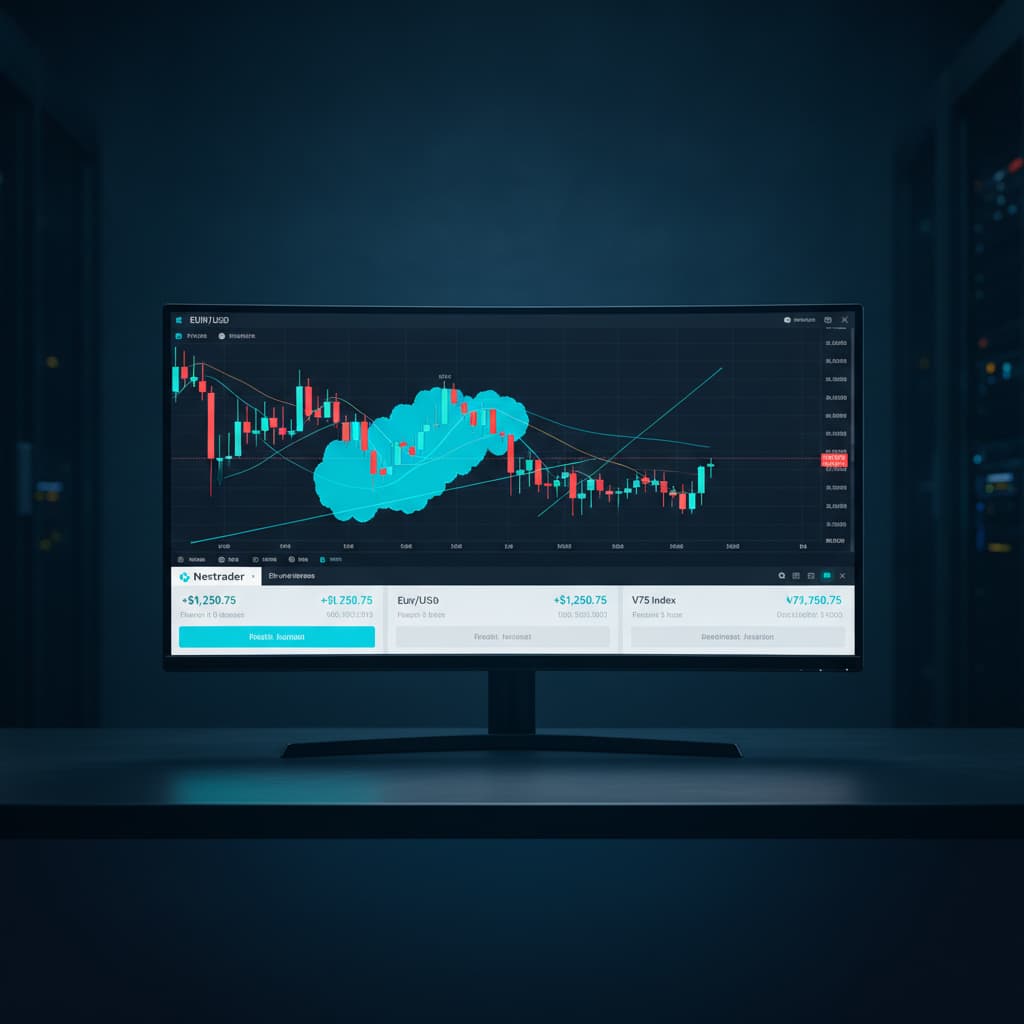
2. Choose the Market: In the Auto Trader Bot interface, you'll see a dropdown menu for "Market." Select "Volatility 75 Index" from the extensive list of available markets, which also includes Forex, Gold, Silver, and Crypto. Nextrader's signals cover various Volatility Indices like V10, V25, V50, V75, V100, and even 1Hz.
3. Select Contract Type: Below the market selection, choose "Rise/Fall" as your desired contract type. Rise/Fall contracts are straightforward: you predict whether the asset price will end higher (Rise) or lower (Fall) than the entry price after a specified duration. Nextrader's Auto Trader Bot automates both Rise/Fall and Higher/Lower contracts.
4. Set Trade Duration (Optional, if applicable): Depending on your strategy, you might also specify a trade duration (e.g., 1 minute, 5 minutes). For automated signals, Nextrader often determines the optimal duration based on the signal timeframe.
Step 3: Configuring Nextrader's Auto Trader Bot Strategy and Signal Settings
This step is critical for defining how the Auto Trader Bot will identify trading opportunities on Volatility 75 Index. Nextrader boasts 11 named AI strategies, each designed for different market conditions.
1. Select an AI Strategy: In the Auto Trader Bot section, navigate to the "Strategy" dropdown. You have a powerful array of choices:
* Smart Signals: This is an excellent starting point, as it leverages 4+ indicators to agree before firing a signal, ensuring higher conviction trades.
* Trend Hunter: Ideal for trending markets, based on EMA crossover.
* Reversal Radar: Perfect for identifying potential market reversals using RSI.
* Momentum Wave: Utilizes MACD to capture momentum shifts.
* Volatility Pulse: Based on Bollinger Bands for ranging or volatile conditions.
* Swift Scalper: A fast-paced strategy using Stochastic RSI.
* Trend Rider: Employs SuperTrend for trend identification.
* Cloud Walker: Uses Ichimoku for comprehensive trend and support/resistance analysis.
* Price Magnet: Based on VWAP for volume-weighted insights.
* Breakout Beast: Leverages ATR to detect breakout opportunities.
* Smart Fusion: A multi-indicator approach that combines several strategies.
For Volatility 75 Index, "Smart Signals" or "Trend Hunter" could be good choices, but experimentation is key.
2. Choose a Timeframe: Select the timeframe for signal generation. Nextrader offers 5min, 10min, 30min, and 1-hour signals. For more frequent trading, a 5min or 10min timeframe might be preferred for V75. Remember, Nextrader's signals are real-time and non-repaint, firing only on CLOSED candles, ensuring reliability.
3. Set Minimum Confidence Level: Nextrader provides a "Confidence Level" for each signal (ranging from 30-85%). This indicates the strength of the signal. For automated trading, set a minimum threshold (e.g., 60-70%) to filter out lower-probability signals. Higher confidence levels typically mean stronger agreement among the underlying indicators.
4. Review Signal Details: The platform will show you crucial details for each potential trade, including Entry price, Stop Loss, and Take Profit 1 & 2, allowing for informed decision-making even in an automated setup.
Step 4: Implementing Mesa Milano for Smart Loss Recovery
Effective money management is paramount in automated trading. Nextrader offers robust options, and for this tutorial, we'll focus on the intelligent "Mesa Milano" loss recovery system.
1. Navigate to Money Management: Within the Auto Trader Bot configuration, find the "Money Management" section.
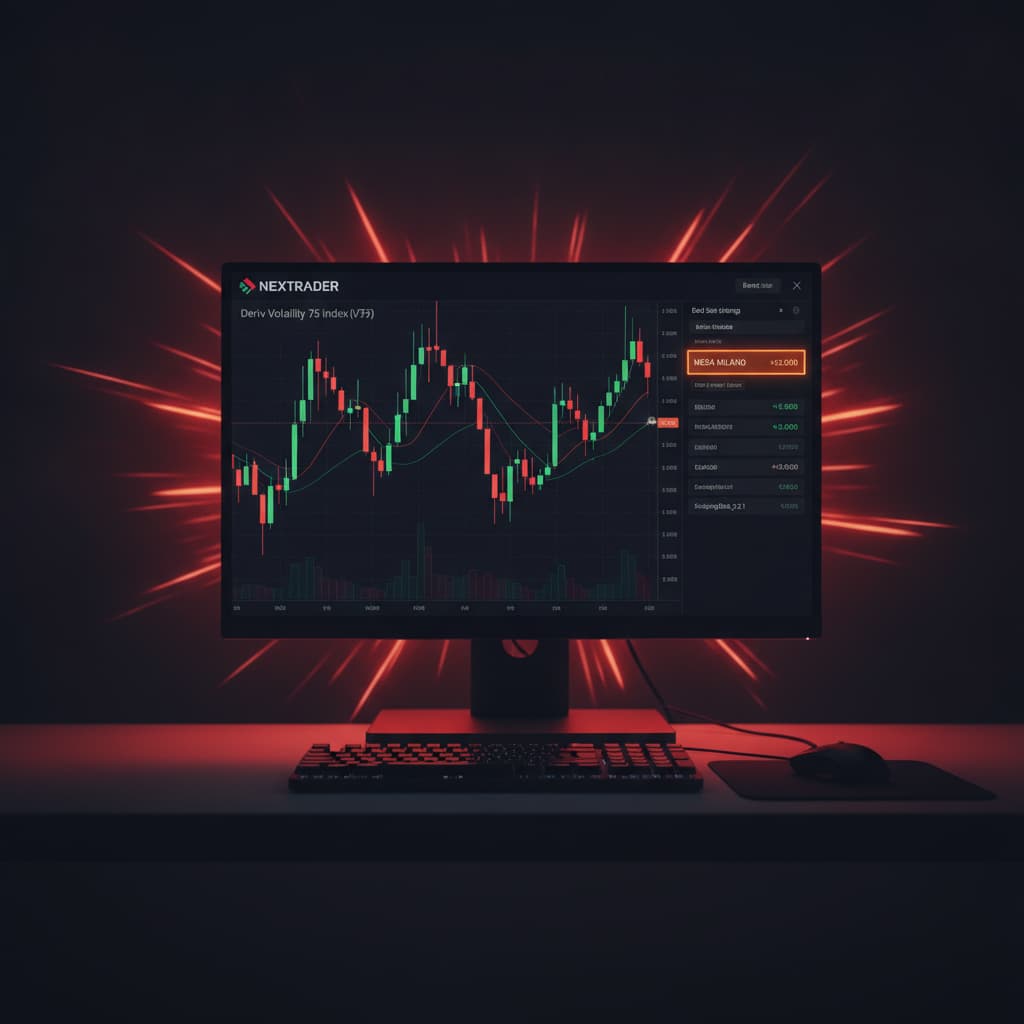
2. Select Mesa Milano: From the available options (Fixed Stake, Martingale, Mesa Milano), choose "Mesa Milano."
3. Configure Initial Stake: Set your "Initial Stake" – this is the amount you wish to risk on your first trade. It's crucial to start with an amount that aligns with your risk tolerance and account size.
4. Understand Mesa Milano's Logic: Unlike the aggressive Martingale system that simply doubles the stake after a loss, Mesa Milano employs a "smart loss recovery" approach. It calculates the necessary stake for subsequent trades not just to recover the previous loss, but also to achieve a predefined target profit. This means the stake increase is more measured and aims for a net positive outcome after a series of losses and subsequent wins, rather than just breaking even. It's designed to be more sustainable and less prone to rapid account depletion.
5. Set Recovery Parameters (if applicable): Depending on the Nextrader interface, you might have parameters like "Max Loss Recovery Steps" or a "Recovery Factor."
* Max Loss Recovery Steps: Define how many consecutive losses the system should attempt to recover before resetting or pausing. Setting a reasonable limit is vital for risk control.
* Recovery Factor: This might determine how aggressively Mesa Milano aims to recover losses. A higher factor would mean larger stake increases, while a lower factor would be more conservative. Always choose settings that align with your overall risk management strategy.
6. Importance of Risk: While Mesa Milano is a sophisticated tool, remember that no money management system can guarantee profits or fully eliminate risk. It's a strategy to manage sequences of losses, not to predict market movements.
Step 5: Reviewing Settings and Starting the Auto Trader Bot
You're almost ready to unleash your automated trading system! The final step involves a thorough review and activation.
1. Comprehensive Review: Before activating, carefully review all your configurations:
* Broker Connection: Ensure your Deriv account is still connected and funded (or on demo).
* Market: Volatility 75 Index.
* Contract Type: Rise/Fall.
* AI Strategy: The chosen strategy (e.g., Smart Signals, Trend Hunter).
* Timeframe: Your selected signal timeframe (e.g., 5min).
* Confidence Level: Your minimum signal confidence threshold.
* Money Management: Mesa Milano selected with your initial stake and recovery parameters.
* Trade Duration: If manually set, confirm it.
2. Utilize the Trading Console: Nextrader features a real-time color-coded trading console. Before starting, observe the console. It will provide a live feed of potential signals and market data, giving you a final chance to assess conditions.
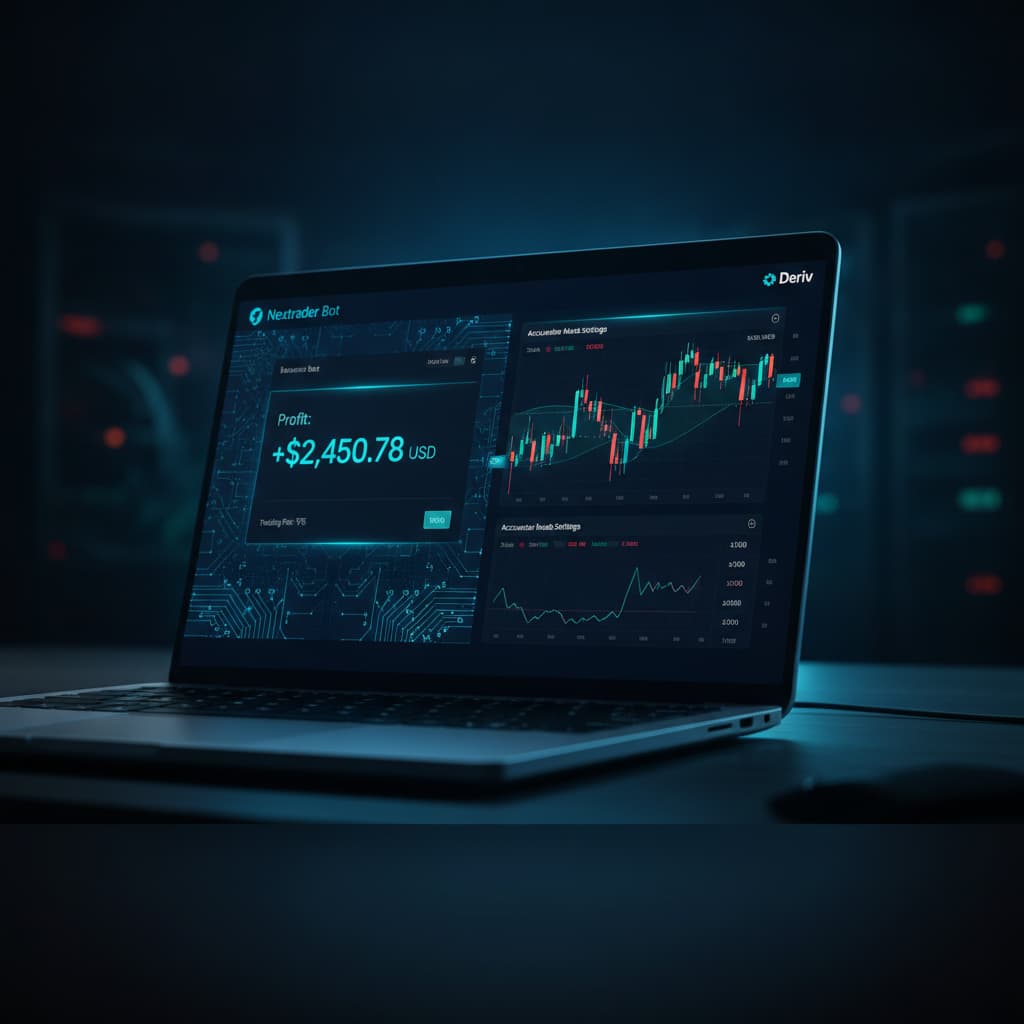
3. Start the Bot: Once you are confident in all your settings, locate and click the "Start Bot" button. The Auto Trader Bot will now begin to monitor the Volatility 75 Index, generate signals based on your chosen AI strategy and timeframe, and execute Rise/Fall trades on your Deriv account, applying the Mesa Milano money management system.
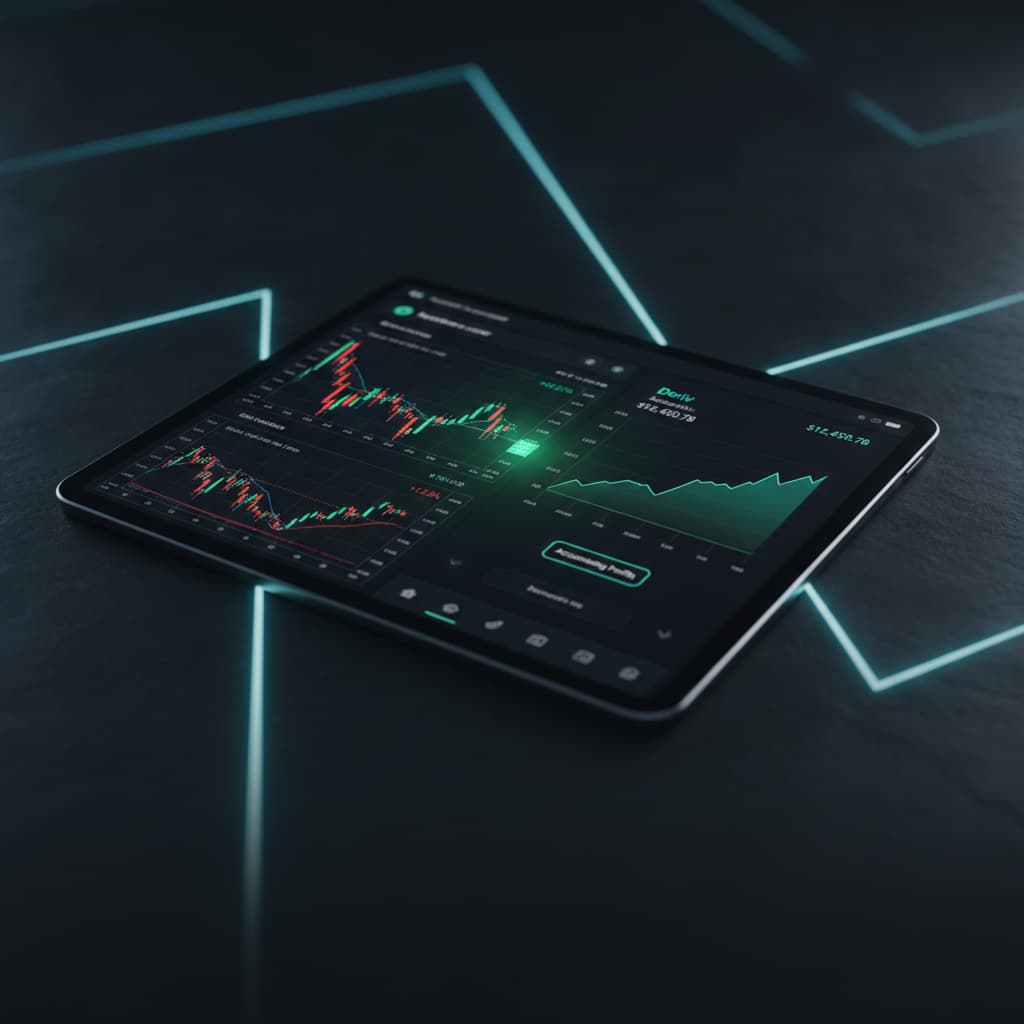
4. Monitor Performance: Keep an eye on the "Live P&L Tracking" section within Nextrader. This will show you the real-time profit and loss of your automated trades, allowing you to track performance and make adjustments as needed. You can pause or stop the bot at any time if market conditions change or if you wish to modify your strategy. Nextrader provides powerful deriv trading tools to give you full control.
Pro Tips
1. Start with Demo First: Always begin by running your Auto Trader Bot on a Deriv demo account. This allows you to test your strategy and Mesa Milano settings without risking real capital.
2. Experiment with AI Strategies: The Volatility 75 Index can exhibit different market behaviors. Don't be afraid to experiment with Nextrader's various AI strategies like Reversal Radar, Momentum Wave, or Smart Fusion. Each strategy has its strengths, and finding the best fit for current market conditions can significantly impact performance.
3. Adjust Confidence Levels: For Volatility Indices, market noise can be higher. Adjusting the minimum signal confidence level can help filter out weaker signals. A higher confidence level (e.g., 70-80%) might lead to fewer trades but potentially higher quality setups.
4. Leverage Telegram Signals: While automating, keep an eye on Nextrader's free Telegram signals at Telegram. These 30+ markets, every 5 minutes, up to 30 signals/day, can offer additional insights or serve as a cross-reference for your bot's performance.
Start Trading Now
Ready to experience the power of automated trading? Sign up for your 100% free Nextrader account today at Sign Up Free — Nextrader and access all features. You can also monitor live signals and market insights via our Telegram channel: Telegram. Start optimizing your Deriv trading with Nextrader's advanced binary bots and deriv trading tools!
Trading involves risk. Past performance does not guarantee future results.