Introduction
Welcome, Nextrader! This tutorial is your comprehensive guide to unlocking the power of automated trading on the Deriv platform, specifically focusing on the V75 Index. We'll walk you through a detailed, step-by-step process of setting up Nextrader's state-of-the-art Auto Trader Bot, configuring it to trade the volatile yet potentially rewarding V75 Index, and crucially, integrating our advanced Mesa Milano smart loss recovery system.
This guide is designed for both novice and experienced traders looking to automate their strategies, minimize manual intervention, and leverage intelligent money management. By the end of this tutorial, you will be proficient in deploying a powerful, automated trading system that responds to real-time signals, manages risk intelligently, and operates around the clock, giving you a significant edge in the dynamic V75 market. You'll learn how to transform Nextrader's sophisticated algorithms into your personal, tireless trading assistant, ready to execute trades based on meticulously analyzed market conditions.
What You Need Before Starting
Before diving into the setup, ensure you have the following ready:
- A Deriv Account: You'll need an active Deriv account (either a real money account or a demo account for practice).
- A Nextrader Account: Sign up for your free Nextrader account at Sign Up Free — Nextrader. Remember, Nextrader is 100% free, with no subscriptions or paywalls.
- Basic Understanding of Volatility Indices: Familiarity with how Volatility Indices like V75 move and are traded on Deriv will be beneficial, though Nextrader's automation handles much of the complexity.
Step 1: Connecting Your Deriv Account to Nextrader
The first crucial step is to securely link your Deriv account to Nextrader. This connection allows our Auto Trader Bot to execute trades directly on your behalf.
Get Live AI Trading Signals
Real-time non-repaint signals powered by 11 professional AI strategies. Volatility Indices, Forex, Gold & Crypto — no subscription, no paywall.
- Auto Trader Bot
- Digit Trader Bot
- 11 AI Strategies
- Live Telegram Signals
1. Access Nextrader: Open your web browser and navigate to Nextrader App. Log in with your Nextrader credentials. If you haven't signed up yet, it's a quick and free process.
2. Navigate to Account Management: Once logged in, look for the "Accounts" or "Profile" section, typically found in the main navigation menu or sidebar. This is where you manage your connected trading accounts.
3. Add Deriv Account: Within the account management area, you'll find an option to "Add New Account" or "Connect Deriv." Click on this. Nextrader integrates seamlessly with Deriv using the Deriv WebSocket API. You'll be prompted to log in to your Deriv account through a secure pop-up window. This process uses Nextrader's official App ID (67545) to ensure a safe and authorized connection. Alternatively, for those familiar with Deriv's older methods, Nextrader also supports BinaryBot XML upload, though the API connection is generally preferred for the Auto Trader Bot.
4. Select Your Trading Account: After successfully connecting, you'll see your Deriv accounts listed (e.g., "Deriv Real Account," "Deriv Demo Account"). For this tutorial, we highly recommend starting with a Deriv Demo Account to thoroughly test your bot's settings without risking real capital. Select the account you wish to automate. You can connect multiple Deriv accounts and switch between them effortlessly using Nextrader's multi-account support.
Step 2: Navigating to the Auto Trader Bot and Selecting V75 Index
With your Deriv account connected, it's time to set up the core automation.
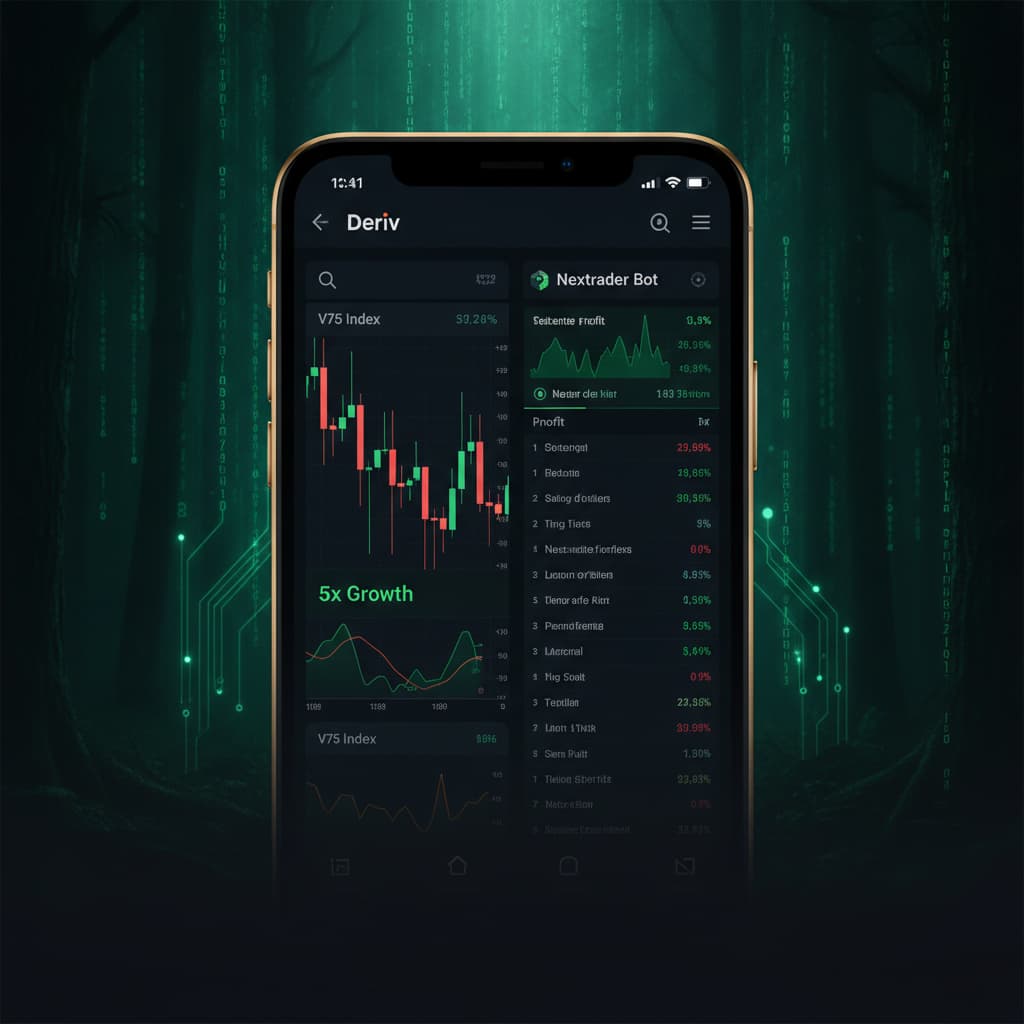
1. Access the Auto Trader Bot: From the Nextrader dashboard, locate and click on the "Auto Trader Bot" option. This will take you to the bot's configuration interface, where you'll define your trading parameters. Nextrader provides a suite of advanced deriv bots and binary bots designed to simplify and enhance your trading experience.
2. Choose Your Market: Within the Auto Trader Bot interface, you'll see a section for "Market Selection." Click on the dropdown menu and navigate to "Volatility Indices." From the list, select "V75 Index." Nextrader supports a wide range of Volatility Indices, including V10, V25, V50, V100, and even 1Hz, but for this tutorial, V75 is our focus.
3. Select Timeframe: After selecting V75, you'll need to choose a "Timeframe" for the signals. Nextrader offers signals across 4 timeframes: 5min, 10min, 30min, and 1 hour. For the V75 Index, a 5-minute or 10-minute timeframe often provides a good balance between signal frequency and reliability, especially when aiming for active trading. For this example, let's select "5min" to capture more frequent trading opportunities. The bot will then only act on signals generated on closed 5-minute candles, ensuring non-repaint accuracy.
Step 3: Configuring Your Trading Strategy and Signal Source
This step involves defining how the bot will trade and which signals it will act upon. Nextrader's strength lies in its diverse range of AI strategies.
1. Choose an AI Strategy: In the "AI Strategy" section, you'll find a dropdown list of Nextrader's 11 named AI strategies. These strategies are the intelligence behind Nextrader's real-time non-repaint trading signals, with a minimum of 3-4 indicators agreeing before a signal fires. For V75, which can be quite dynamic, a strategy that leverages multiple indicators for confirmation is often ideal. Let's select "Smart Signals." This strategy is specifically designed to use 4 or more indicators to confirm a signal, offering a higher degree of confidence. Other powerful options include "Trend Hunter" (EMA crossover) for trend following, "Momentum Wave" (MACD) for momentum plays, or "Volatility Pulse" (Bollinger Bands) for range-bound conditions.
2. Set Contract Type: Below the strategy selection, choose your "Contract Type." For V75 Index automation, "Rise/Fall" contracts are most common and straightforward. This means the bot will predict if the price will rise or fall relative to the entry price after a specified duration.
3. Define Duration: Specify the "Duration" for each trade. This duration should align with your chosen timeframe and overall trading style. For a 5-minute timeframe, a duration of "5 Ticks" or "1 Minute" can work well for capturing short-term movements. Let's choose "1 Minute" for our example, indicating that each trade will last for 60 seconds.
4. Set Confidence Level: Nextrader signals come with a "Confidence Level" (ranging from 30% to 85%). This metric indicates the strength and reliability of a given signal. For automated trading, it's wise to set a minimum confidence threshold to filter out weaker signals. A good starting point for V75 with Smart Signals is "70%." This means the bot will only execute trades where the signal confidence is 70% or higher, improving the quality of trades. You'll also see Entry price, Stop Loss, and Take Profit 1 & 2 displayed with each signal, providing additional context, though the bot's execution handles these automatically based on your settings.
Step 4: Setting Up Mesa Milano Smart Loss Recovery
This is a critical step for responsible and sustainable automated trading. Nextrader's Auto Trader Bot offers advanced money management options, and "Mesa Milano" is designed for intelligent loss recovery.
1. Access Money Management: Within the Auto Trader Bot interface, locate the "Money Management" section. Here, you'll see options like "Fixed Stake," "Martingale," and "Mesa Milano."
2. Select Mesa Milano: Click to select "Mesa Milano." This is Nextrader's smart loss recovery system, offering a more nuanced approach than traditional Martingale. Unlike Martingale, which simply doubles the stake after a loss, Mesa Milano adjusts the stake based on a calculated recovery factor, aiming to recover previous losses with a smaller, more controlled increase in stake, thus mitigating exponential risk.
3. Configure Mesa Milano Parameters:
* Initial Stake: This is the amount you wish to stake on your first trade. Start conservatively, especially on a demo account. For V75, let's set it to "1.00 USD".
* Recovery Multiplier: This factor determines how aggressively the bot attempts to recover losses. A higher multiplier recovers faster but increases risk. A lower multiplier is safer but slower. A good starting point is "1.2" (120%).
* Max Loss Limit: This is a crucial risk management parameter. It defines the maximum cumulative loss the bot is allowed to incur before it stops trading. Set a realistic limit that you are comfortable with. For example, "50.00 USD". This acts as a safety net, preventing runaway losses.
* Target Profit: Define your desired profit target for the current trading session. Once this profit is reached, the bot can be configured to pause or stop, locking in your gains. Let's set it to "10.00 USD".
* Reset on Profit: Ensure this option is enabled. When the bot hits its target profit, or recovers a loss, it will reset the stake back to the initial stake, preventing over-leveraging after a winning streak.
4. Understand Mesa Milano's Logic: Mesa Milano intelligently calculates the next stake amount after a loss, aiming to recover the previous loss plus achieve a small profit, without the aggressive doubling characteristic of Martingale. It's a more adaptive and risk-conscious approach to loss recovery, making it one of the most powerful deriv trading tools for sustained automation.
Step 5: Reviewing Settings and Activating the Bot
You're almost ready to unleash your automated V75 trading machine! This final step involves a thorough review and activation.
1. Comprehensive Review: Before hitting "Start," meticulously review all your configured settings:
* Deriv Account: Ensure you've selected the correct account (preferably Demo initially).
* Market: V75 Index.
* Timeframe: 5min.
* AI Strategy: Smart Signals.
* Contract Type: Rise/Fall.
* Duration: 1 Minute.
* Confidence Level: Minimum 70%.
* Money Management: Mesa Milano.
* Mesa Milano Parameters: Initial Stake (1.00 USD), Recovery Multiplier (1.2), Max Loss Limit (50.00 USD), Target Profit (10.00 USD), Reset on Profit (Enabled).
Take your time here; a small oversight can lead to unexpected results.
2. Monitor the Trading Console: Observe Nextrader's real-time color-coded trading console. This console will display live signals, executed trades, and your current P&L (Profit & Loss) tracking. It's an invaluable tool for monitoring your bot's performance in real-time.
3. Activate the Bot: Once you are fully confident in your settings, click the prominent "Start Bot" button. The Auto Trader Bot will now begin listening for V75 signals on the 5-minute timeframe, and when a Smart Signal with at least 70% confidence fires on a closed candle, it will execute a 1-minute Rise/Fall trade on your selected Deriv account, managing the stake according to your Mesa Milano settings.
4. Continuous Monitoring (Initially): While the bot automates trading, especially when starting, keep an eye on its performance. Monitor the live P&L and ensure it's behaving as expected. You can pause or stop the bot at any time if you need to adjust settings or simply wish to take a break. Remember, Nextrader is designed to be a powerful tool, but human oversight and strategic adjustments are still key to long-term success.
Pro Tips
- Experiment with AI Strategies: Don't limit yourself to Smart Signals. Nextrader offers 11 distinct AI strategies. For V75, try testing "Trend Hunter" during trending markets or "Reversal Radar" (RSI) when you anticipate bounces. Each strategy has its strengths, and finding the best fit for current market conditions can significantly boost performance.
- Always Start with Demo: This cannot be stressed enough. Before deploying any strategy with real money, rigorously test it on your Deriv Demo Account. This allows you to fine-tune settings, understand the bot's behavior, and gain confidence without financial risk.
- Adjust Confidence Levels: The minimum confidence level (30-85%) is a powerful filter. If you're getting too many low-quality trades, increase the minimum confidence. If you're missing too many opportunities, slightly lower it, but always with caution.
- Explore Other Deriv Trading Tools: While this tutorial focuses on the Auto Trader Bot, Nextrader offers other powerful deriv trading tools. For instance, the "Digit Trader Bot" provides AI last-digit prediction for DIGIT contracts, complete with streak detection and digit frequency charts, boasting 95%+ pattern recognition accuracy. It's a completely different approach to automation worth exploring.
- Leverage Telegram Signals: Even when using the Auto Trader Bot, consider following Nextrader's Telegram signals at [Telegram]. These provide real-time signals for 30 markets, every 5 minutes, up to 30 signals/day. They can serve as a valuable cross-reference or a source for manual trading insights to complement your automated strategies.
Start Trading Now
Ready to revolutionize your Deriv V75 Index trading? Head over to Nextrader App to log in, or sign up for your free account at Sign Up Free — Nextrader. For real-time market insights and signals, join our community on Telegram at [Telegram].
Trading involves risk. Past performance does not guarantee future results.