Introduction
Welcome, Nextrader! This comprehensive tutorial is designed for traders looking to harness the power of automation on the Deriv platform, specifically focusing on the Volatility 100 Index (V100). If you're eager to set up a robust, hands-free trading system for Rise/Fall contracts, you've come to the right place. We'll walk you through the precise steps to configure Nextrader's cutting-edge Auto Trader Bot, leveraging its intelligent Smart Signals strategy and the sophisticated Mesa Milano money management system. By the end of this guide, you'll have a fully operational automated trading setup, ready to execute trades on your behalf, freeing you to focus on strategy and analysis rather than constant market monitoring. This is a must-read for anyone serious about automating their Deriv trading tools.
This tutorial is ideal for both novice and experienced traders who want to explore the advanced capabilities of Nextrader's deriv bots. We’ll cover everything from connecting your Deriv account to fine-tuning your bot’s settings, ensuring you gain a deep understanding of how to make these powerful binary bots work for you. You'll achieve a streamlined, automated trading experience on one of the most dynamic markets, the V100 Index, using some of the most advanced deriv trading tools available.
What You Need Before Starting
Before diving into the setup, ensure you have the following ready:
- A Deriv Account: Both a real or demo account will work. For this tutorial, we recommend starting with a demo account to test your setup without financial risk.
- A Nextrader Account: Nextrader is 100% free with no subscriptions or paywalls. Simply sign up at app.nextrader.live/signup.
- Basic Understanding of Rise/Fall Contracts: Familiarity with how Rise/Fall contracts work on Deriv will be beneficial.
Step 1: Connecting Your Deriv Account to Nextrader
The first crucial step to unleashing the power of Nextrader’s deriv bots is to securely link your Deriv account. Nextrader integrates seamlessly with Deriv using its WebSocket API, ensuring real-time data and execution.
Get Live AI Trading Signals
Real-time non-repaint signals powered by 11 professional AI strategies. Volatility Indices, Forex, Gold & Crypto — no subscription, no paywall.
- Auto Trader Bot
- Digit Trader Bot
- 11 AI Strategies
- Live Telegram Signals
1. Log in to Nextrader: Navigate to app.nextrader.live and log in to your Nextrader account. If you haven't already, sign up – it's completely free.
2. Access the Connection Panel: Once logged in, look for the "Connect Deriv Account" or a similar API connection section, usually prominent on your dashboard or within the settings menu.
3. Generate a Deriv API Token:
* Go to your Deriv account (app.deriv.com).
* Navigate to "Settings" (usually found by clicking your profile picture or account number).
* Select "API Tokens."
* Click "Create a new token."
* Give your token a descriptive name (e.g., "Nextrader Bot").
* Crucially, grant the necessary permissions: "Read," "Trade," and "Cashier" (for deposit/withdrawal if you plan to manage funds via the bot, though "Read" and "Trade" are essential for bot operation).
* Click "Create" and copy the generated token. Keep this token secure, as it grants access to your Deriv account.
4. Paste Token into Nextrader: Back on the Nextrader platform, paste your copied Deriv API token into the designated input field. Nextrader’s App ID (67545) is pre-configured, simplifying the process.
5. Select Account Type: Choose whether you want to connect your "Real" or "Demo" Deriv account. For initial testing, starting with a demo account is highly recommended.
6. Connect and Verify: Click "Connect." Nextrader will attempt to establish a secure connection. Upon success, you should see your Deriv account balance and details displayed on your Nextrader dashboard, confirming the integration. Nextrader supports multi-account functionality, allowing you to manage several Deriv accounts from a single Nextrader interface, a powerful feature for advanced traders.
Step 2: Configuring the Auto Trader Bot for V100 Index
With your Deriv account connected, it's time to set up the core of your automated trading strategy: the Auto Trader Bot. This is where you define the market, contract type, and duration for your deriv bots.
1. Navigate to Auto Trader Bot: From the Nextrader dashboard, locate and click on the "Auto Trader Bot" section. This will open the bot configuration interface, your command center for setting up automated binary bots.
2. Select Contract Type: Rise/Fall: Under the "Contract Type" dropdown, select "Rise/Fall." This specifies the type of binary options trade your bot will execute.
3. Choose Market: Volatility 100 Index: In the "Market" selection, scroll through the extensive list of available markets (Forex, Gold, Silver, Crypto, Volatility Indices) and select "Volatility 100 Index" (V100). The V100 Index is known for its consistent volatility, making it a popular choice for automated strategies.
4. Set Duration: For Rise/Fall contracts, you'll need to specify a duration. Nextrader allows for various durations. For this setup, let's choose a common timeframe, such as "1 Minute" or "5 Ticks". For automated signals, choosing a duration that aligns with your chosen signal timeframe (e.g., a 1-minute trade duration for 5-minute signals) is crucial for effective execution. For simplicity and aligning with typical signal timeframes, let's use "1 Minute" for duration.
5. Define Trade Direction (Optional for Smart Signals): While Smart Signals will dictate the direction, some bots allow pre-setting. Ensure it's set to "Both" or that the strategy itself determines Rise/Fall based on signals. For Smart Signals, the bot will automatically choose Rise or Fall based on the generated signal.
Step 3: Selecting Smart Signals and Timeframe
Now we'll define the intelligence behind your deriv bots – the trading strategy and the timeframe for signal generation. Nextrader offers 11 named AI strategies, but for this tutorial, we're focusing on the highly effective "Smart Signals."
1. Choose Strategy: Smart Signals: In the "Strategy" dropdown within the Auto Trader Bot configuration, select "Smart Signals." This is one of Nextrader's most advanced deriv trading tools, designed for robust performance. Smart Signals are unique because they only fire on CLOSED candles, ensuring non-repaint signals, and require a minimum of 4 indicators to agree before generating a trade alert. This multi-indicator confirmation significantly enhances signal reliability compared to single-indicator approaches like Trend Hunter (EMA crossover) or Reversal Radar (RSI).
2. Select Signal Timeframe: Below the strategy selection, you'll find "Timeframe." Choose your preferred timeframe for signal generation. Nextrader offers 5min, 10min, 30min, and 1 hour signals. For V100, a "5min" or "10min" timeframe often provides a good balance between signal frequency and reliability. Let's select "5min" for this setup. This means the bot will wait for a 5-minute candle to close and then evaluate if a Smart Signal is generated.
3. Set Confidence Level: Nextrader provides a "Confidence Level" for each signal, ranging from 30% to 85%. This feature allows you to filter signals based on their predicted accuracy. For Smart Signals, which are already highly filtered, you might start with a higher confidence level, such as "70%." This means the bot will only execute a trade if the Smart Signal for V100 has a confidence level of 70% or higher, further refining your entries.
4. Review Entry Price, Stop Loss, Take Profit (Informational): While the Auto Trader Bot for Rise/Fall contracts doesn't directly use traditional Stop Loss and Take Profit levels in the same way as spot trading, Nextrader signals often provide these as guidance. Be aware that for binary options, your risk is defined by your stake per trade. The entry price shown with the signal is the exact point the signal was generated.
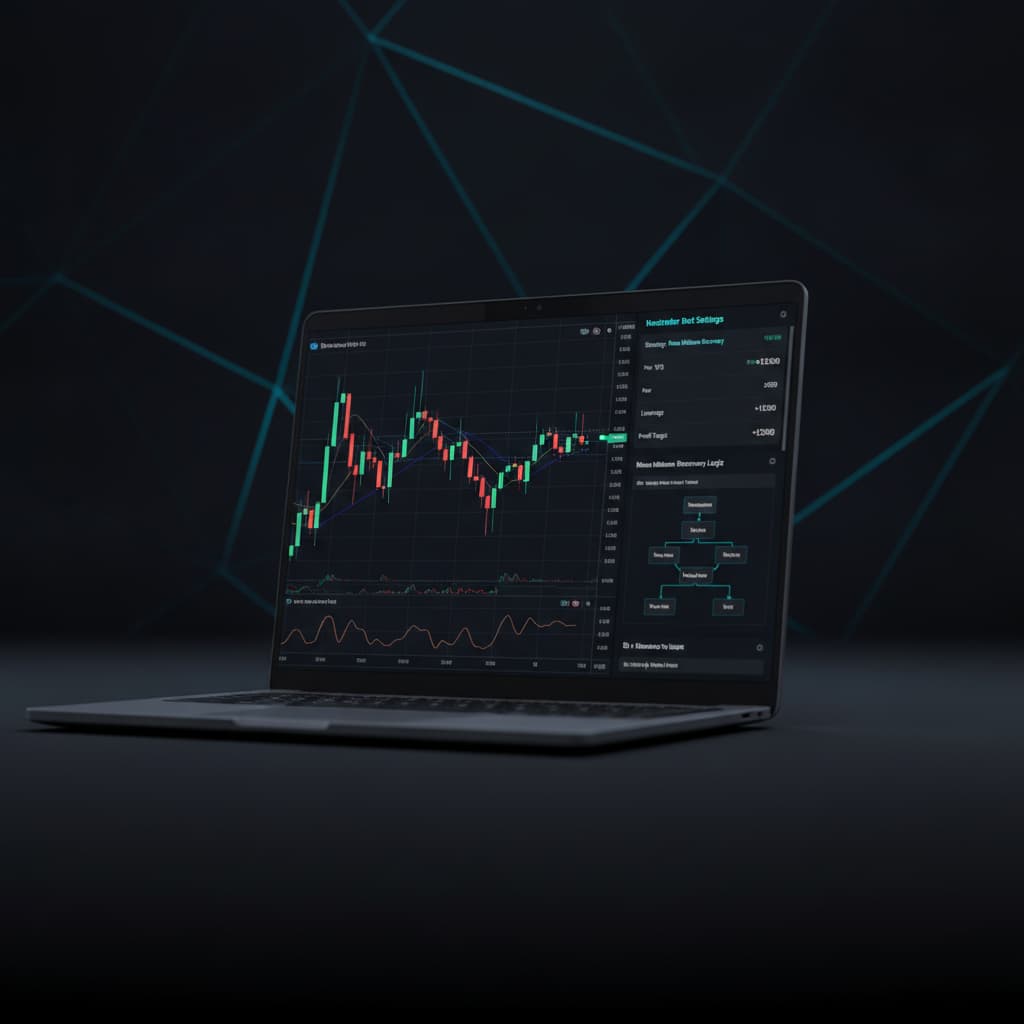
Step 4: Implementing Mesa Milano Money Management
Effective money management is paramount to long-term trading success, and Nextrader's deriv bots offer advanced options. For this tutorial, we'll configure the sophisticated "Mesa Milano" strategy.
1. Access Money Management Settings: Within the Auto Trader Bot interface, locate the "Money Management" section.
2. Select Mesa Milano: From the dropdown menu, choose "Mesa Milano." This distinguishes your strategy from simpler options like "Fixed Stake" (where every trade has the same amount) or the more aggressive "Martingale" (which doubles the stake after each loss).
3. Define Initial Stake: Set your "Initial Stake." This is the amount your bot will use for its first trade. For example, if you set it to "$1.00," the bot will start with $1.00. It is crucial to set this amount responsibly, aligning with your overall risk capital.
4. Understand Mesa Milano's Logic: Mesa Milano is a smart loss recovery system designed to be more conservative than Martingale. Instead of simply doubling the stake, Mesa Milano calculates the next stake amount to recover previous losses with a more controlled increase. It aims to recover losses with minimal drawdowns, making it a preferred choice for traders looking for sustainable growth. It's an intelligent algorithm that dynamically adjusts the trade size based on previous outcomes, ensuring that a winning trade can recover accumulated losses without exposing your capital to excessively large stakes.
5. Set Max Trades (Optional but Recommended): To further control risk, Nextrader allows you to set a "Max Trades" limit for the bot. This can be a daily limit or a consecutive loss limit. For instance, setting a "Max Consecutive Losses" to 5 would stop the bot if it incurs five losses in a row, preventing significant drawdowns. While not strictly part of Mesa Milano, it's a vital overlay for responsible risk management when using any of Nextrader's binary bots.
Step 5: Reviewing Settings and Starting the Bot
You're almost there! The final step involves a thorough review of all your configurations and then initiating the Auto Trader Bot. This ensures everything is set up correctly before your deriv bots begin trading live.
1. Comprehensive Review: Before clicking "Start," take a moment to carefully review all your settings:
* Deriv Account: Ensure you're connected to the correct account (Demo or Real).
* Market: Volatility 100 Index (V100).
* Contract Type: Rise/Fall.
* Duration: 1 Minute (or your chosen duration).
* Strategy: Smart Signals.
* Timeframe: 5min (or your chosen timeframe).
* Confidence Level: 70% (or your chosen level).
* Money Management: Mesa Milano.
* Initial Stake: Your carefully considered starting stake.
* Risk Controls: Any "Max Trades" or "Stop Loss/Take Profit" limits you've set within the bot's overall settings.
2. Enable Live Trading (or Demo): Ensure the toggle switch for "Live Trading" is set to your desired mode. If you've connected a demo account, it should automatically default to demo trading. Always double-check this before deploying any binary bots.
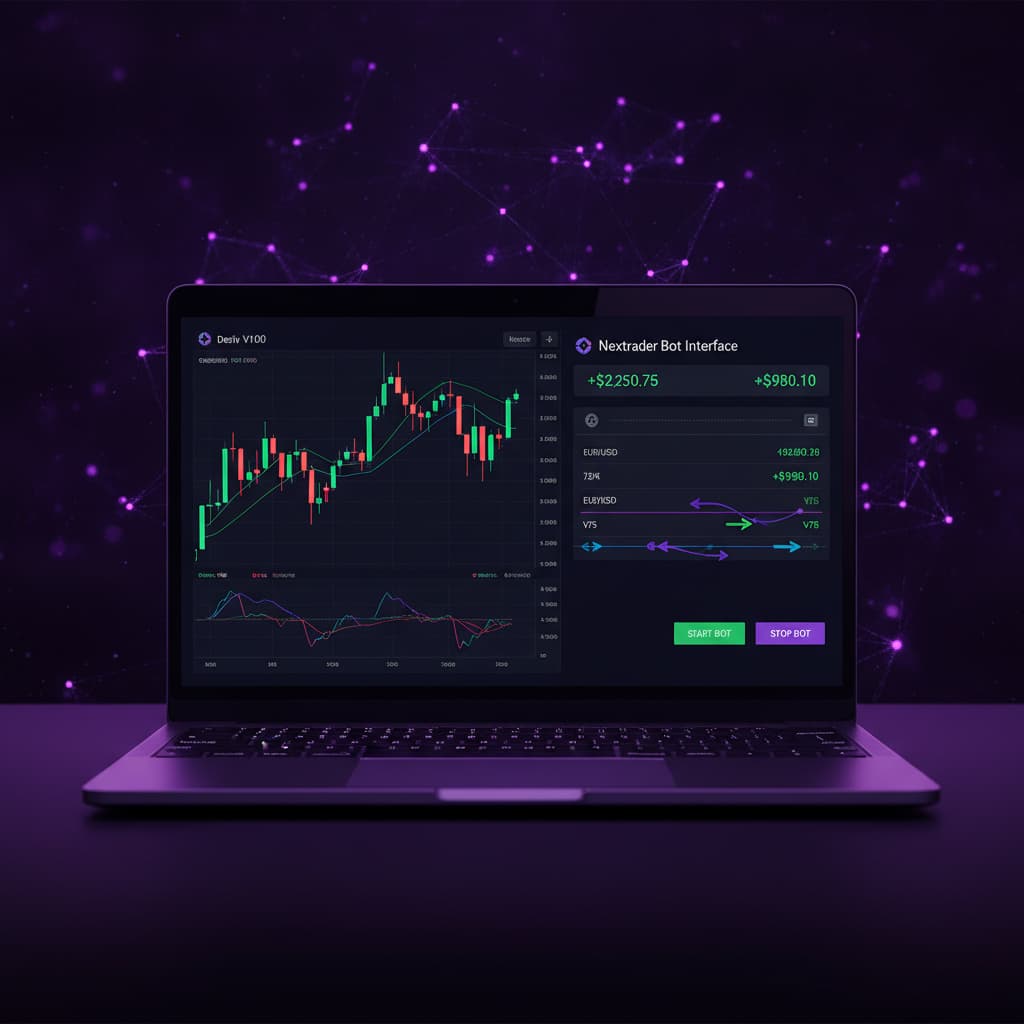
3. Start the Bot: Once confident in your settings, click the prominent "Start Bot" button.
4. Monitor Performance: Nextrader's platform provides a real-time color-coded trading console, allowing you to observe every trade taken by your bot. You'll see live P&L tracking, trade history, and signal details. Monitor this closely, especially during the initial phases, to ensure the bot is performing as expected and to identify any adjustments needed. Your console will display whether trades are "Rise" or "Fall," their entry prices, and the outcome, giving you full transparency over your automated deriv trading tools.
Pro Tips
1. Start with Demo, Always: Even with the most robust deriv bots and strategies, always begin testing on a Deriv demo account. This allows you to fine-tune your settings, understand market behavior, and gain confidence without risking real capital.
2. Adjust Confidence Levels for Market Conditions: While Smart Signals are highly reliable, market conditions can change. Experiment with the signal "Confidence Level" (30-85%). In highly volatile or uncertain periods, you might increase it to filter for only the strongest signals. In calmer markets, you might slightly lower it to capture more opportunities.
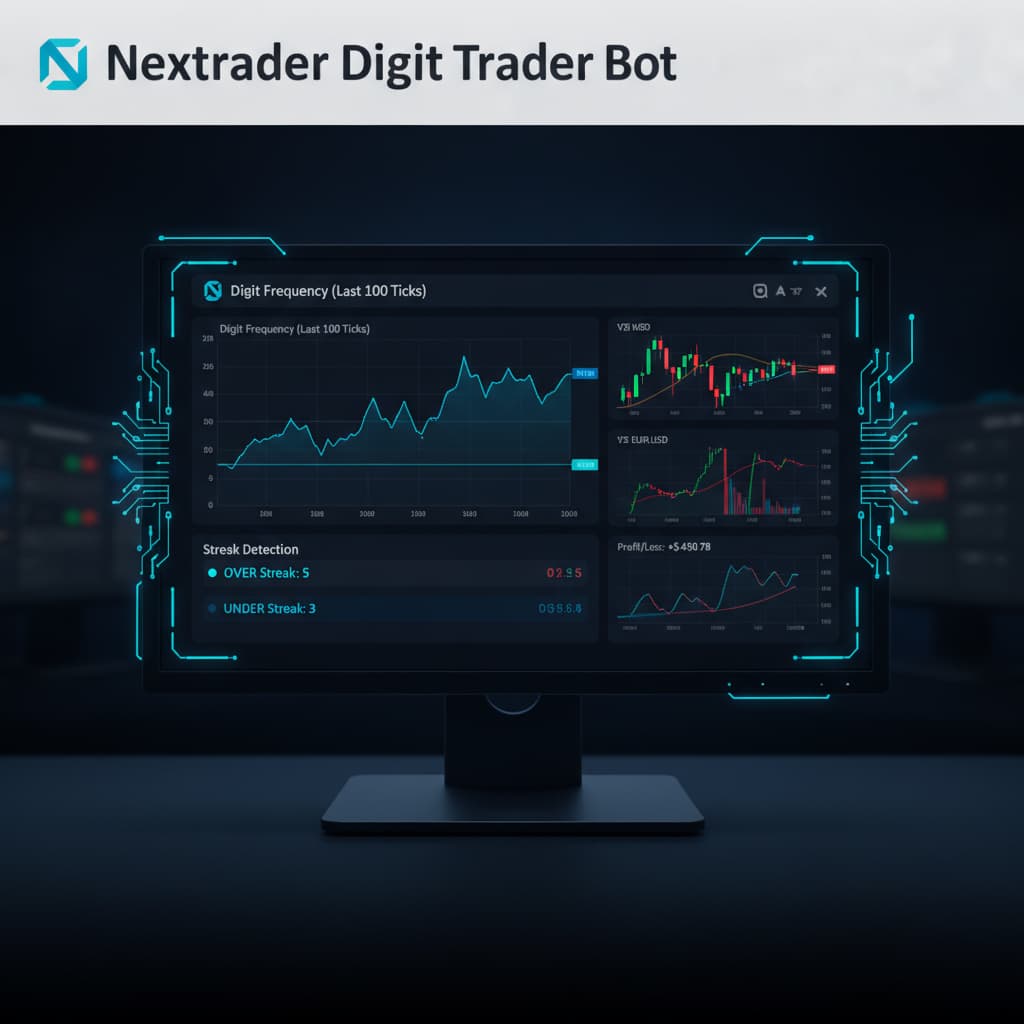
3. Explore Other Nextrader AI Strategies: Once comfortable with Smart Signals, don't hesitate to explore Nextrader's other 10 AI strategies. "Trend Hunter" is excellent for trending markets, "Reversal Radar" for counter-trend plays, and "Momentum Wave" utilizes MACD for momentum-based entries. Each strategy offers a unique approach, allowing you to diversify your automated binary bots portfolio. You can even try the "Digit Trader Bot" for last-digit prediction if you're feeling adventurous.
4. Combine with Manual Insights: Even with full automation, regularly check the market and your bot's performance. Utilize the free Telegram signals (Telegram) for real-time market insights across 30 markets, every 5 minutes. This can inform decisions about pausing the bot during extreme volatility or adjusting your strategy.
Start Trading Now
Ready to experience the future of automated trading? Join Nextrader today and set up your deriv bots with ease.
Sign up for your free account: Sign Up Free — Nextrader
Access the platform: Nextrader App
Get real-time signals on Telegram: Telegram
Trading involves risk. Past performance does not guarantee future results.