Introduction
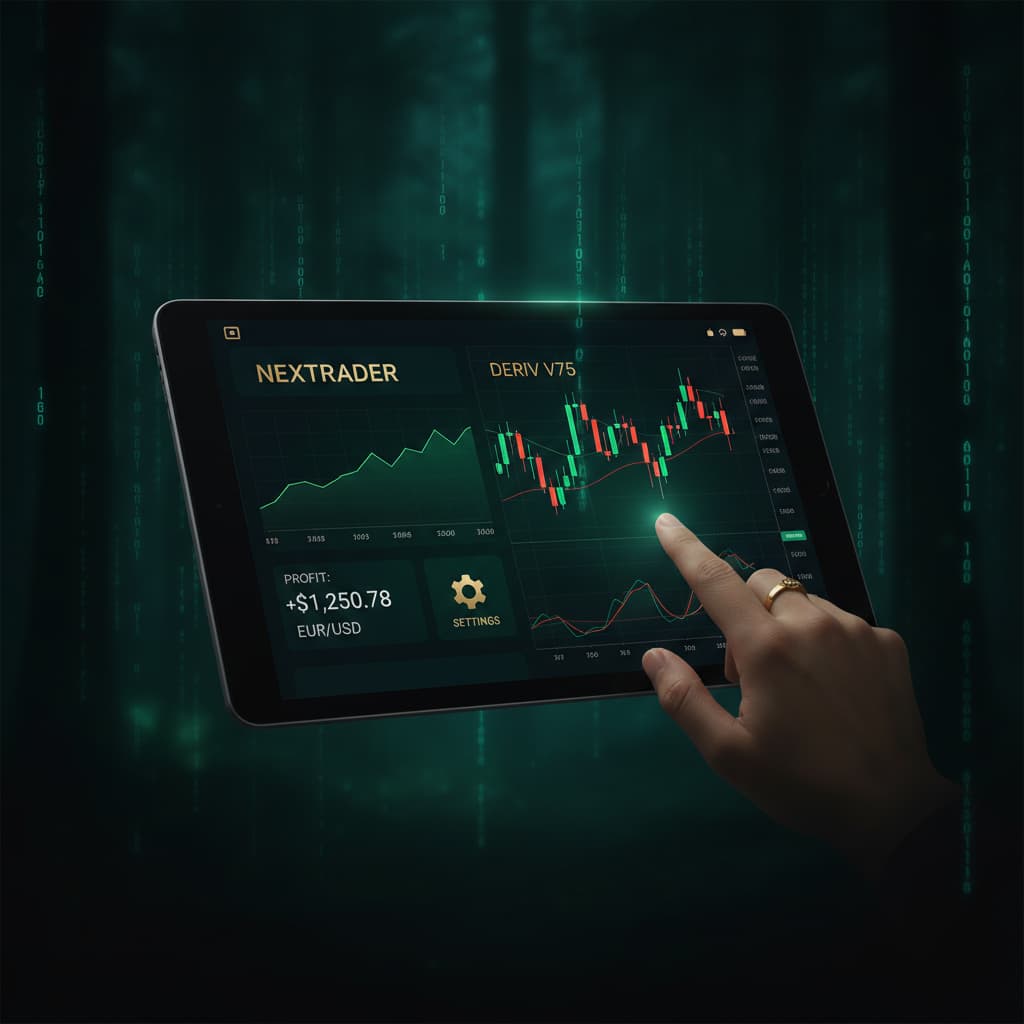
Welcome, Nextrader! This tutorial is designed for traders eager to leverage the power of automation on Volatility Indices, specifically the V100 Index, using Nextrader's advanced deriv trading tools. In this comprehensive guide, you'll learn how to set up and automate "Higher/Lower" contracts on Deriv, utilizing the precise "Momentum Wave" AI strategy, complemented by the intelligent "Mesa Milano" money management system.
By the end of this step-by-step tutorial, you will have successfully configured your very own automated trading bot within Nextrader, ready to execute trades on the V100 Index with a sophisticated approach to signal generation and capital protection. This setup is perfect for those who want to automate their trading decisions, allowing the bot to identify opportunities and manage risk according to pre-defined strategies, freeing up your time and potentially enhancing your trading efficiency.
Nextrader offers a powerful suite of deriv bots and binary bots, all 100% free with no subscriptions or paywalls, making professional-grade automation accessible to everyone. Our real-time, non-repaint trading signals, which only fire on CLOSED candles after a minimum of 3-4 indicators agree, ensure high-quality entries across various markets and timeframes.
What You Need Before Starting
Before diving into the setup, make sure you have the following ready:
Get Live AI Trading Signals
Real-time non-repaint signals powered by 11 professional AI strategies. Volatility Indices, Forex, Gold & Crypto — no subscription, no paywall.
- Auto Trader Bot
- Digit Trader Bot
- 11 AI Strategies
- Live Telegram Signals
- A Verified Deriv Account: You'll need an active Deriv account (demo or real) to connect with Nextrader.
- A Nextrader Account: If you don't have one, sign up for free at app.nextrader.live/signup.
- Basic Understanding of Higher/Lower Contracts: Familiarity with how these contracts work on Deriv will be beneficial.
- Internet Connection: A stable internet connection is crucial for uninterrupted bot operation.
Step 1: Accessing Nextrader and Connecting Your Deriv Account
The first step is to get logged into Nextrader and establish a secure connection with your Deriv account. This connection allows Nextrader's powerful deriv bots to execute trades directly on your behalf.
1. Navigate to Nextrader: Open your web browser and go to app.nextrader.live.
2. Log In or Sign Up: If you're a new user, click "Sign Up" and follow the simple registration process. If you already have an account, simply log in with your credentials. Remember, Nextrader is 100% free, so you'll have all features unlocked instantly.
3. Access the Auto Trader Bot: Once logged in, look for the "Auto Trader Bot" option in the main navigation menu or dashboard. Click on it to open the bot configuration interface.
4. Connect Your Deriv Account: Within the Auto Trader Bot section, you'll see a prompt to connect your Deriv account. Click "Connect Deriv Account." You will be asked to provide your Deriv API token. To generate this token, log in to your Deriv account, go to "Settings" > "API Tokens," and create a new token with "Read," "Trade," and "Cashier" permissions. Copy the generated token and paste it into Nextrader. Nextrader uses Deriv WebSocket API integration (App ID 67545) for a seamless and secure connection.
5. Select Your Trading Account: After successfully connecting, a dropdown will appear, allowing you to select which Deriv account you wish to trade with (e.g., your real account or a demo account). For initial testing, we highly recommend starting with a demo account.
Step 2: Configuring Your Trading Market and Contract Type
With your Deriv account connected, the next crucial step is to define precisely what you want to trade and how. Our focus here is on the Volatility 100 Index using Higher/Lower contracts.
1. Select the Market: In the Auto Trader Bot interface, locate the "Market" selection dropdown. Click on it and navigate to "Volatility Indices." From the list, select "Volatility 100 Index" (V100). The V100 Index is known for its consistent volatility, making it a popular choice for short-term trading strategies.
2. Choose the Contract Type: Immediately below the market selection, you'll find the "Contract Type" dropdown. Click on this and select "Higher/Lower."
* Higher/Lower Contracts Explained: With Higher/Lower contracts, you predict whether the exit spot will be strictly higher or strictly lower than the entry spot. If you select "Higher," you win if the exit spot is above the entry spot. If you select "Lower," you win if the exit spot is below the entry spot. Nextrader's signals will automatically dictate whether the bot places a "Higher" or "Lower" prediction based on the strategy's analysis.
Step 3: Selecting the Momentum Wave Strategy and Timeframe
Now we'll choose the specific AI strategy that will generate your trading signals and the timeframe for those signals. For this tutorial, we're focusing on the powerful Momentum Wave strategy.
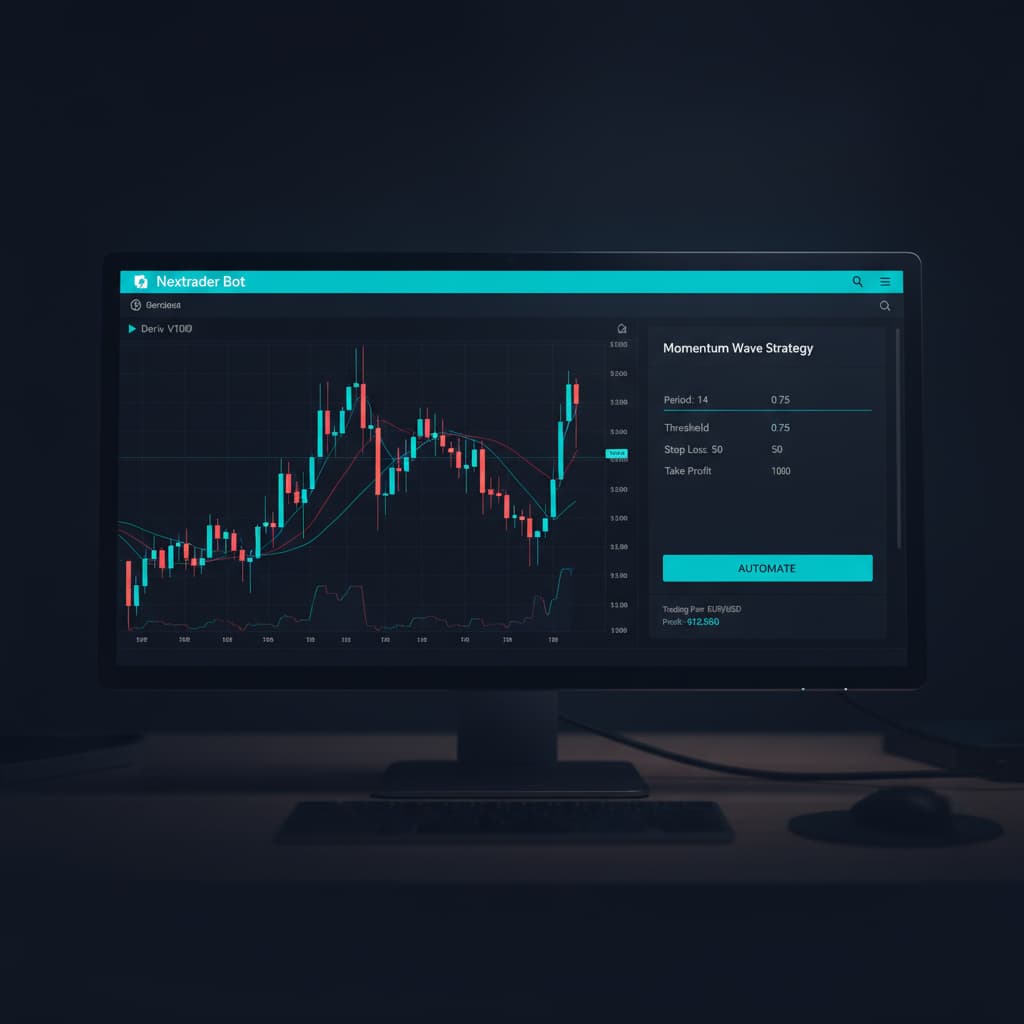
1. Select the AI Strategy: Locate the "Strategy" section within the Auto Trader Bot settings. Click on the dropdown menu and choose "Momentum Wave."
* About Momentum Wave: The Momentum Wave strategy is one of Nextrader's 11 named AI strategies. It is primarily based on the Moving Average Convergence Divergence (MACD) indicator, a momentum-following oscillator that shows the relationship between two moving averages of a security's price. Momentum Wave excels at identifying trend strength, direction, and potential reversals, making it an excellent choice for dynamic markets like the V100 Index. It fires signals when MACD lines cross, indicating shifts in momentum.
2. Choose Your Timeframe: Below the strategy selection, you'll find the "Timeframe" option. Nextrader offers 4 timeframes for signals: 5min, 10min, 30min, and 1 hour. For V100 Higher/Lower contracts, a shorter timeframe like 5min or 10min is often preferred for more frequent signals and quicker trade cycles, aligning well with the nature of volatility indices. Select your desired timeframe (e.g., 5min).
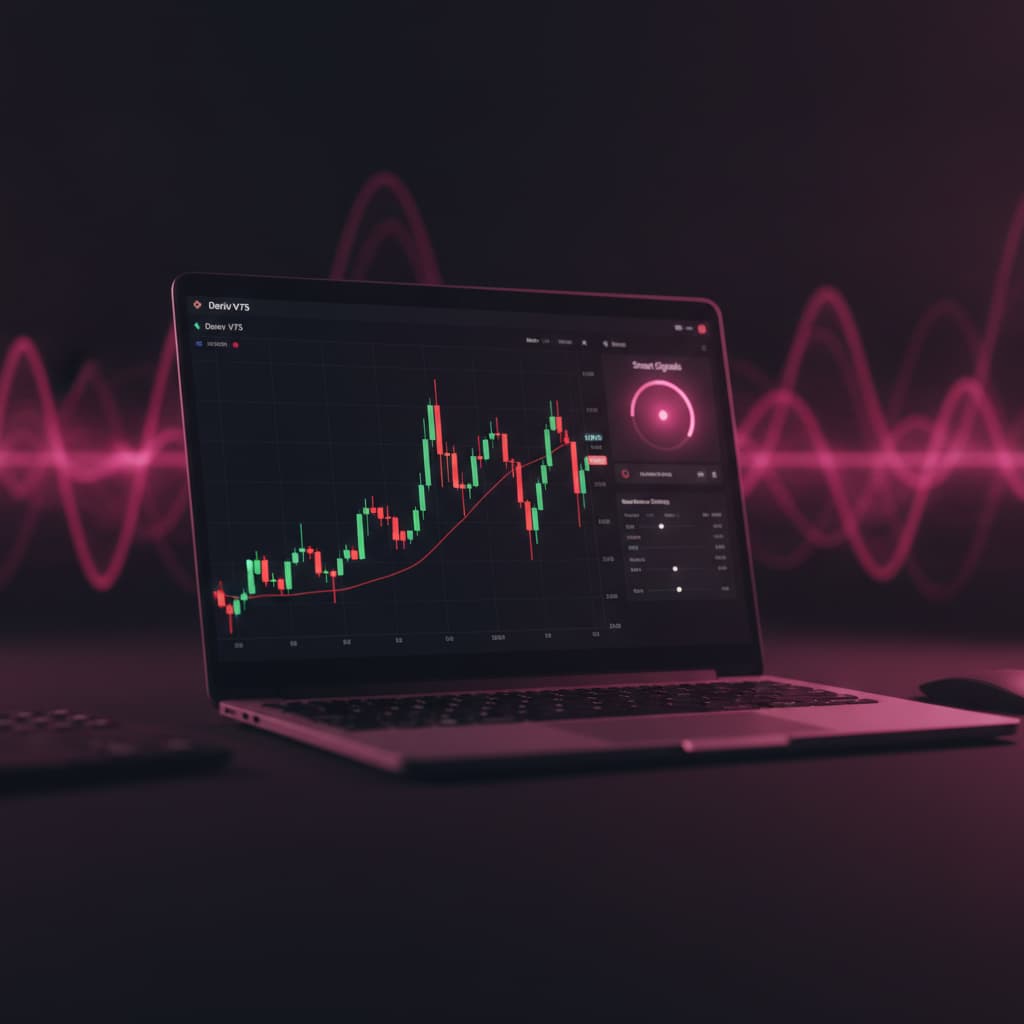
3. Understand Signal Quality: Remember that Nextrader's signals are real-time, non-repaint, and only fire on CLOSED candles, ensuring reliability. Each signal is generated when a minimum of 3-4 indicators agree, providing a high level of confidence. You'll also see "Confidence levels per signal (30–85%)" displayed, along with suggested "Entry price, Stop Loss, Take Profit 1 & 2" for manual trading, which the bot will interpret for its automated entries.
Step 4: Implementing Mesa Milano Money Management
Money management is paramount in trading. Nextrader offers sophisticated options, and for this tutorial, we'll implement the "Mesa Milano" strategy for smart loss recovery.
1. Navigate to Money Management: In the Auto Trader Bot configuration, find the "Money Management" section.
2. Select Mesa Milano: From the dropdown menu, choose "Mesa Milano."
* What is Mesa Milano? Unlike simple Martingale strategies that exponentially increase stake size after a loss, Mesa Milano is a smarter loss recovery system. It strategically adjusts the stake size after a loss, aiming to recover previous losses more efficiently without exposing your capital to excessively large stakes. It calculates the optimal stake required to recover past losses plus achieve a target profit, making it a more balanced and risk-aware approach compared to a fixed stake or aggressive Martingale. This sophisticated system is a key feature that sets Nextrader's deriv bots apart as superior deriv trading tools.
3. Set Initial Stake: Enter your desired starting stake amount in the "Initial Stake" field. This is the amount your bot will use for its first trade. It's crucial to start with a small amount, especially when testing a new setup.
4. Define Max Stake (Optional but Recommended): While Mesa Milano is designed for smart recovery, setting a "Max Stake" is a vital risk management feature. This limits the maximum amount the bot can stake on any single trade, preventing runaway losses even with a recovery strategy. We highly recommend setting a reasonable maximum stake that aligns with your risk tolerance.
5. Set Target Profit (Optional): You can also set a daily or session "Target Profit." Once this target is reached, the bot can be configured to pause or stop, helping you lock in profits and prevent overtrading.
Step 5: Reviewing Settings and Activating the Auto Trader Bot
You're almost there! The final step involves a thorough review of your configuration and then launching your automated trading bot.
1. Review All Settings: Before activation, meticulously review every setting you've configured:
* Market: Volatility 100 Index
* Contract Type: Higher/Lower
* Strategy: Momentum Wave
* Timeframe: (e.g., 5min or 10min)
* Money Management: Mesa Milano
* Initial Stake: Your chosen starting amount
* Max Stake: Your defined maximum stake
* Deriv Account: Ensure you've selected the correct demo or real account.
2. Set Confidence Level Filter (Recommended): Nextrader provides "Confidence levels per signal." In the bot settings, you can often set a minimum confidence level for signals to be accepted. For example, setting it to "60%" means the bot will only take trades where the Momentum Wave strategy indicates at least 60% confidence in the signal's direction. This helps filter out weaker signals.
3. Understand Signal Generation: Reiterate that Nextrader's signals are generated from a "Smart Signals" system, meaning at least 4+ indicators (or 3-4 indicators for other strategies) must agree, and they only fire on CLOSED candles to prevent repainting, ensuring robust entry points for your binary bots.
4. Activate the Bot: Once you're satisfied with all the settings, click the "Start Bot" or "Activate" button.
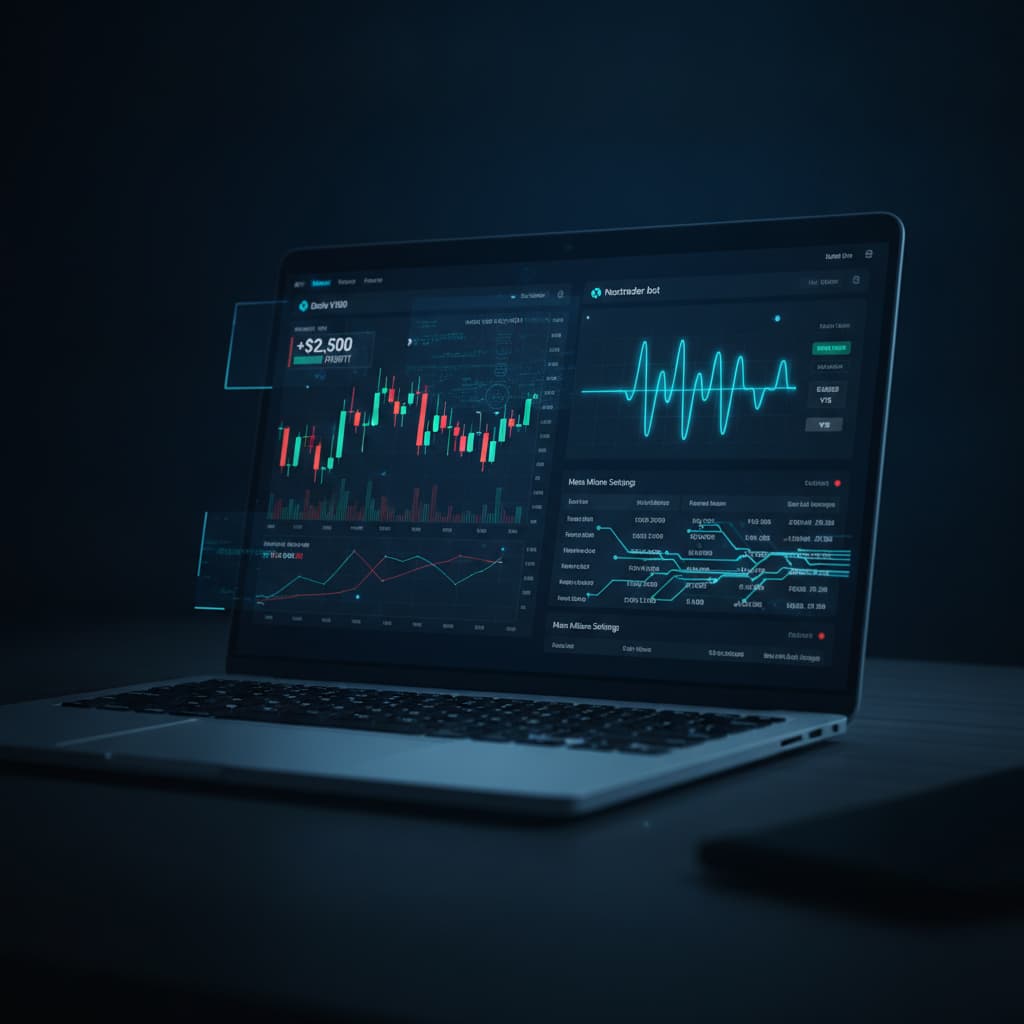
5. Monitor Performance: After activation, your trading console will become active. You'll see a "real-time color-coded trading console" displaying live trades, signal entries, and outcomes. The "live P&L tracking" feature will show your current profit and loss for the session, allowing you to monitor your bot's performance in real-time.
Pro Tips
1. Start with Demo, Always: Before deploying any automated strategy on a real account, always test it thoroughly on a Deriv demo account. This allows you to fine-tune your settings, understand the bot's behavior, and gain confidence without risking real capital.
2. Explore Other AI Strategies: While Momentum Wave is powerful, Nextrader offers 10 other AI strategies like "Trend Hunter" (EMA crossover), "Reversal Radar" (RSI), "Swift Scalper" (Stochastic RSI), and "Cloud Walker" (Ichimoku). Experiment with these on demo to find what complements your trading style or performs best in different market conditions.
3. Adjust Timeframes for V100: The V100 Index can be volatile. Experiment with different timeframes (5min, 10min, 30min, 1 hour) in conjunction with Momentum Wave to see which provides the most consistent results for Higher/Lower contracts. What works for one market or strategy might not be optimal for another.
4. Regularly Review Mesa Milano Parameters: Even with Mesa Milano's smart recovery, market conditions change. Periodically review your initial stake, max stake, and overall bot performance. If you notice prolonged drawdowns, consider adjusting your stake sizes or even pausing the bot to reassess the strategy.
Start Trading Now
Ready to experience the power of automated trading? Head over to Nextrader App to get started. Sign up for your free account at Sign Up Free — Nextrader and join our vibrant community for live signals and discussions on Telegram at Telegram. Unlock all features, connect your Deriv account, and begin your journey with Nextrader's advanced deriv trading tools today.
Trading involves risk. Past performance does not guarantee future results.