Introduction
Welcome to this comprehensive Nextrader tutorial, designed to empower you with automated trading capabilities on the Deriv platform. In this guide, we'll walk you through the precise steps to set up and run Nextrader's cutting-edge Auto Trader Bot, specifically focusing on automating Rise/Fall contracts on the highly popular Volatility 75 Index (V75). Our primary emphasis will be on leveraging the intelligent Mesa Milano money management strategy, a smart loss recovery system engineered to help you navigate market fluctuations more effectively.
This tutorial is tailored for traders who seek to optimize their Deriv trading experience, moving beyond manual execution to a systematic, automated approach. Whether you're an experienced trader looking to refine your strategy or a newcomer eager to explore the power of deriv bots, by the end of this guide, you will have a fully configured automated trading system for V75 Rise/Fall contracts, complete with intelligent risk management.
You'll discover how Nextrader’s real-time, non-repaint trading signals, generated by a minimum of 3-4 agreeing indicators, provide a robust foundation for automated decisions, while the Mesa Milano strategy offers a sophisticated alternative to traditional methods like Martingale. This combination allows for a more controlled and calculated approach to recovering from potential losses, making your automated trading journey on Volatility Indices both efficient and resilient.
What You Need Before Starting
Before diving into the setup, ensure you have the following essentials:
Get Live AI Trading Signals
Real-time non-repaint signals from 11 AI strategies — Volatility Indices, Forex, Gold & Crypto. No subscription, no paywall.
- Auto Trader Bot
- Digit Trader Bot
- 11 AI Strategies
- Live Telegram Signals
- A Deriv Account: Both a real or demo account will work. It's highly recommended to start with a demo account to test your settings.
- A Nextrader Account: Nextrader is 100% free with no subscriptions or paywalls. You can sign up easily at Sign Up Free — Nextrader.
- A Stable Internet Connection: Essential for real-time signal processing and seamless bot operation.
- Basic Understanding of Rise/Fall Contracts: Familiarity with how these contracts work on Deriv will aid in understanding the bot's actions.
Step 1: Connecting Your Deriv Account to Nextrader
The first crucial step is to securely link your Deriv account with Nextrader, allowing the Auto Trader Bot to execute trades on your behalf.
1. Log in to Nextrader: Navigate to Nextrader App and log in using your credentials. If you don't have an account, sign up for free.
2. Access Account Settings: Once logged in, look for the 'Accounts' or 'Profile' section, usually accessible from the main dashboard or a sidebar menu.
3. Initiate Deriv Connection: Within the Account settings, you'll find an option like 'Connect Deriv Account' or 'Add Broker Account'. Click on this to begin the integration process.
4. Retrieve Your Deriv API Token: You'll need your Deriv API Token to establish the connection. To get this:
* Log in to your Deriv account.
* Go to 'Settings' -> 'Security & Limits' -> 'API Token'.
* Create a new token if you don't have one, ensuring you grant 'Trade' and 'Read' permissions.
* Copy the generated API Token.
5. Input API Token into Nextrader: Paste your copied Deriv API Token into the designated field in Nextrader. Nextrader uses Deriv App ID 67545 for its integration, ensuring a secure and recognized connection.
6. Verify Connection: Click 'Connect' or 'Save'. Nextrader will attempt to verify the connection. Upon successful connection, your Deriv account balance (demo and/or real) will be displayed within your Nextrader dashboard, confirming that Nextrader can now interact with your Deriv account. This secure integration is the foundation for all your automated deriv trading tools within Nextrader.
Step 2: Navigating to the Auto Trader Bot and Selecting V75
With your Deriv account connected, it's time to set up the core automation for the Volatility 75 Index.
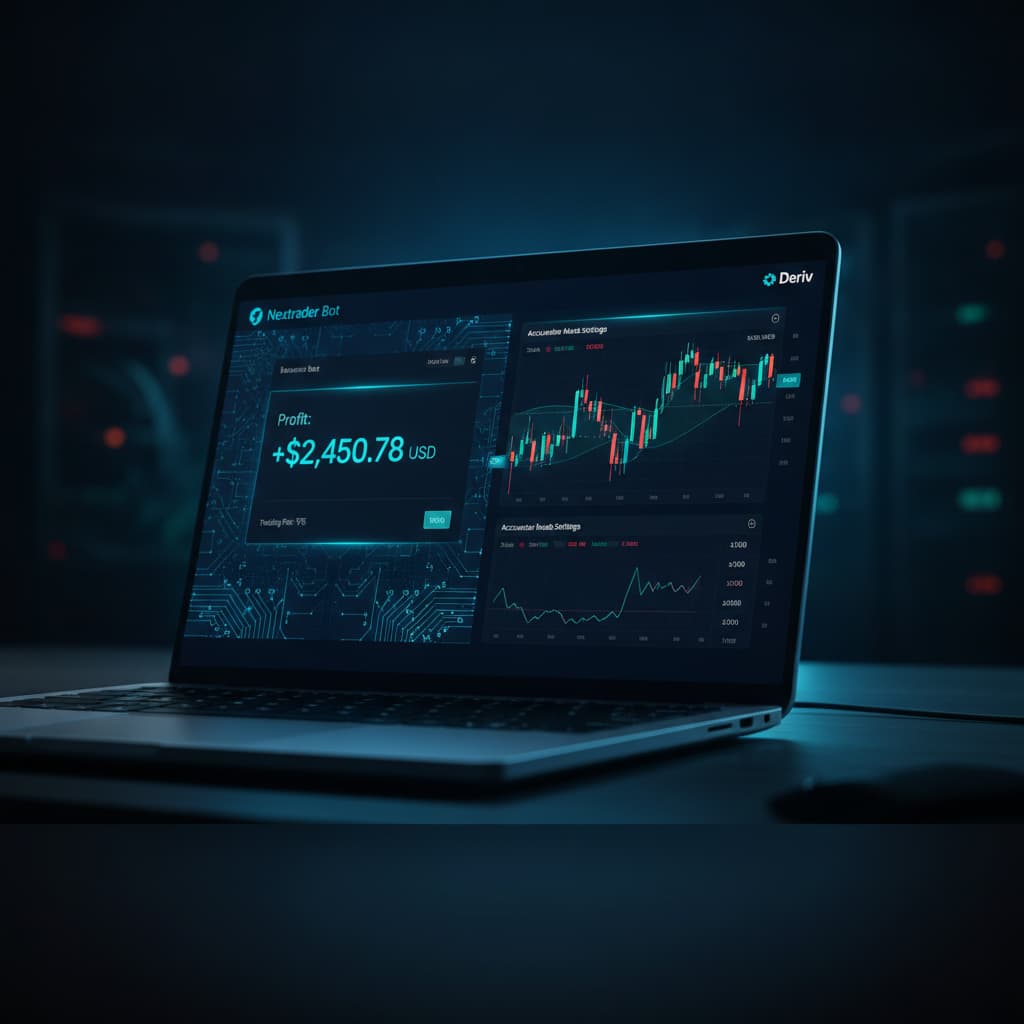
1. Access the Auto Trader Bot: From the Nextrader main dashboard, locate and click on the 'Auto Trader Bot' option. This will open the dedicated interface for configuring your automated strategies.
2. Select Market Type: Volatility Indices: In the Auto Trader Bot interface, you'll see a dropdown or section for 'Markets'. Choose 'Volatility Indices' from the available options. This filters the asset list to show only the synthetic indices.
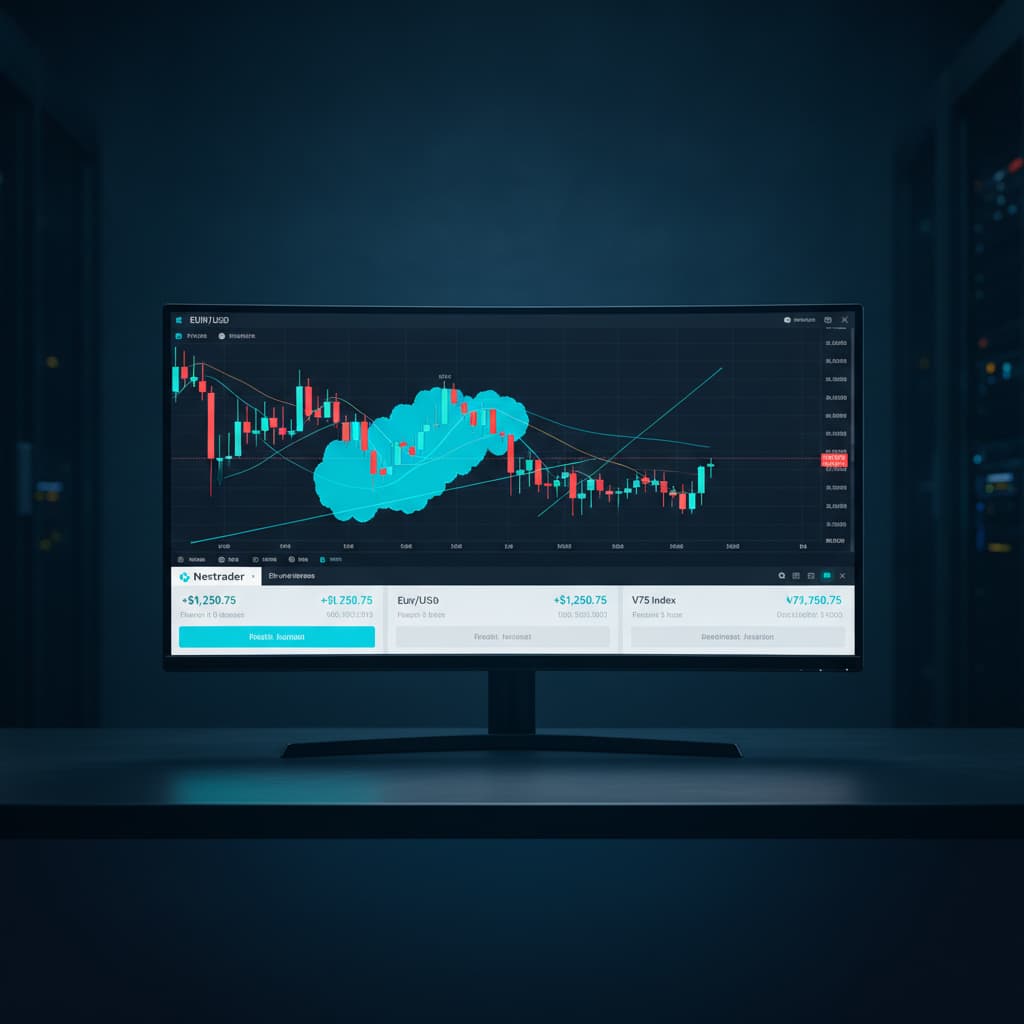
3. Choose Volatility 75 Index (V75): From the list of Volatility Indices (V10, V25, V50, V75, V100, etc.), select 'Volatility 75 Index'. V75 is known for its balanced volatility, making it a popular choice for many traders using binary bots.
4. Specify Contract Type: Rise/Fall: Under the selected market, you'll find options for 'Contract Type'. Select 'Rise/Fall'. This tells the bot that you want to trade contracts where you predict whether the final price will be higher (Rise) or lower (Fall) than the entry price. Nextrader's signals are perfectly tailored for these contract types, providing clear entry points.
Step 3: Configuring Nextrader Signals and Trade Parameters
This step involves fine-tuning the intelligence behind your bot – how it interprets market conditions and the fundamental rules for trade execution.
1. Select Trading Timeframe: Nextrader offers signals across 4 timeframes: 5min, 10min, 30min, and 1 hour. Choose the timeframe that aligns with your trading style. For V75 Rise/Fall automation, a 5min or 10min timeframe often provides a good balance of signal frequency and trend reliability.
2. Choose an AI Strategy: Nextrader boasts 11 named AI strategies. For robust automation, consider:
* Smart Signals: This is an excellent default, as it only fires when a minimum of 4+ indicators agree, providing high-confidence entries.
* Alternatively, you can experiment with specific strategies like Trend Hunter (EMA crossover for trend following), Reversal Radar (RSI-based for reversals), or Momentum Wave (MACD-driven). For this tutorial, we recommend starting with 'Smart Signals' for its multi-indicator confirmation.
3. Set Minimum Confidence Level: Nextrader provides a Confidence Level (30-85%) for each signal. This indicates the strength of the signal. For automated trading, set a minimum confidence level, for example, 70% or 75%. This ensures the bot only acts on the strongest, most reliable signals, filtering out weaker ones.
4. Define Trade Parameters:
* Initial Stake: This is the amount you wish to risk on your first trade. Start with a small amount, especially on a demo account.
* Duration: For Rise/Fall contracts on V75, specify the duration of your contract. This can be in ticks (e.g., 5 ticks) or minutes (e.g., 1 minute). Ensure the duration is appropriate for your chosen timeframe (e.g., 1-2 minutes for a 5-minute signal).
* Target Profit: Set a specific profit target for your trading session (e.g., $50). The bot will automatically stop trading once this profit is reached.
* Stop Loss: Crucially, set a maximum loss limit for your session (e.g., $100). The bot will cease operations if this threshold is hit, protecting your capital. Nextrader's signals also display Entry price, Stop Loss, and Take Profit 1 & 2 for manual traders, but for the bot, the session-wide Stop Loss is key.
Step 4: Implementing Mesa Milano Smart Loss Recovery
This is where Nextrader truly shines as a sophisticated deriv trading tool, offering advanced money management beyond simple fixed stakes or aggressive Martingale.
1. Locate Money Management Section: Within the Auto Trader Bot configuration, find the 'Money Management' section.
2. Select 'Mesa Milano': You'll see options like 'Fixed Stake', 'Martingale', and 'Mesa Milano'. Choose 'Mesa Milano'.
3. Understand Mesa Milano: Unlike Martingale, which doubles the stake after every loss, Mesa Milano is a smart loss recovery system. It dynamically adjusts the next trade's stake based on the previous loss, aiming to recover the loss plus a small profit efficiently, without requiring exponentially increasing stakes. This makes it a more sustainable and less risky strategy for managing drawdowns. It's a key feature that elevates Nextrader above many other binary bots.
4. Configure Mesa Milano Parameters:
* Initial Stake: Re-confirm your initial stake for the first trade after a win or a recovery cycle.
* Recovery Multiplier: This is a crucial setting. It determines how much larger the next stake will be after a loss. A typical range might be 1.1x to 1.5x. A multiplier of 1.2x means if you lose $10, the next trade might stake $12 (plus a calculation to recover the initial $10 loss and make a small profit). Experiment with this on a demo account to find what works best for your risk tolerance and chosen market.
* Max Loss Recovery Steps: To prevent the bot from attempting to recover indefinitely in a prolonged losing streak, set a maximum number of recovery steps (e.g., 3-5 steps). If the bot reaches this limit without recovering, it will revert to the initial stake or stop trading, depending on your session Stop Loss. This is a vital safeguard.
Step 5: Reviewing Settings and Starting the Auto Trader
With all parameters set, a final review is essential before deploying your automated system.
1. Comprehensive Review: Carefully go through all your configured settings:
* Market: Volatility 75 Index (V75).
* Contract Type: Rise/Fall.
* Timeframe: (e.g., 5min).
* AI Strategy: (e.g., Smart Signals).
* Minimum Confidence: (e.g., 70%).
* Initial Stake, Duration, Target Profit, Stop Loss: Ensure these align with your risk management plan.
* Money Management: Mesa Milano, with its specific Recovery Multiplier and Max Loss Recovery Steps.
2. Access the Trading Console: Nextrader features a real-time color-coded trading console. This console will show live signal activity, trade executions, and your current P&L (Profit & Loss) tracking. Before starting the bot, familiarize yourself with this interface – it will be your primary monitoring tool.
3. Initiate Auto Trading: Once you are completely satisfied with your settings, click the 'Start Bot' button. The bot will immediately begin monitoring for V75 Rise/Fall signals that meet your specified criteria (strategy, timeframe, confidence) and execute trades on your Deriv account using the Mesa Milano money management logic.
4. Monitor Performance: Even though it's automated, active monitoring, especially in the initial stages, is recommended. Watch the live P&L tracking and trade history in the console. If market conditions change or performance isn't as expected, you can pause or stop the bot at any time to adjust settings. This hands-on yet automated approach makes Nextrader one of the most versatile deriv trading tools available.
Pro Tips
1. Start on Demo First: Always test your Auto Trader Bot configurations, especially with new strategies or Mesa Milano settings, on a Deriv demo account before deploying them on a real account. This allows you to fine-tune without financial risk.
2. Optimize Confidence Levels: Experiment with the signal confidence levels (30–85%). Lowering it might increase trade frequency but potentially reduce accuracy, while higher levels mean fewer but stronger signals. Find the sweet spot for V75 in current market conditions.
3. Explore Other AI Strategies: While Smart Signals is robust, don't hesitate to test other Nextrader AI strategies like Trend Rider (SuperTrend) or Cloud Walker (Ichimoku) with Mesa Milano on different timeframes to see what performs best for V75.
4. Combine with Manual Insights: Even when running the bot, stay informed. Join the Nextrader Telegram channel (Telegram) for additional real-time signals across 30 markets. These can offer valuable insights into broader market sentiment or confirm bot signals.
Start Trading Now
Ready to revolutionize your Deriv trading? Access Nextrader's powerful Auto Trader Bot and other deriv trading tools today.
Visit Nextrader App to log in or Sign Up Free — Nextrader to create your free account. For real-time signals and community interaction, join us on Telegram at Telegram.
Trading involves risk. Past performance does not guarantee future results.