Introduction
Welcome to this comprehensive tutorial from Nextrader (nextrader.live)! This guide is designed for traders eager to leverage cutting-edge automation to navigate the dynamic Volatility Indices market on Deriv. Specifically, we'll walk you through the precise steps to automate "Higher/Lower" contracts on Deriv's V75 Index using Nextrader's powerful Auto Trader Bot, enhanced with the intelligent Mesa Milano money management system.
Whether you're a seasoned trader looking to optimize your strategies or new to the world of automated deriv trading tools, this tutorial will empower you to set up a sophisticated, hands-free trading operation. By the end, you'll have a fully configured Nextrader bot executing trades based on real-time, non-repaint signals, aiming for consistent performance on one of Deriv's most popular assets.
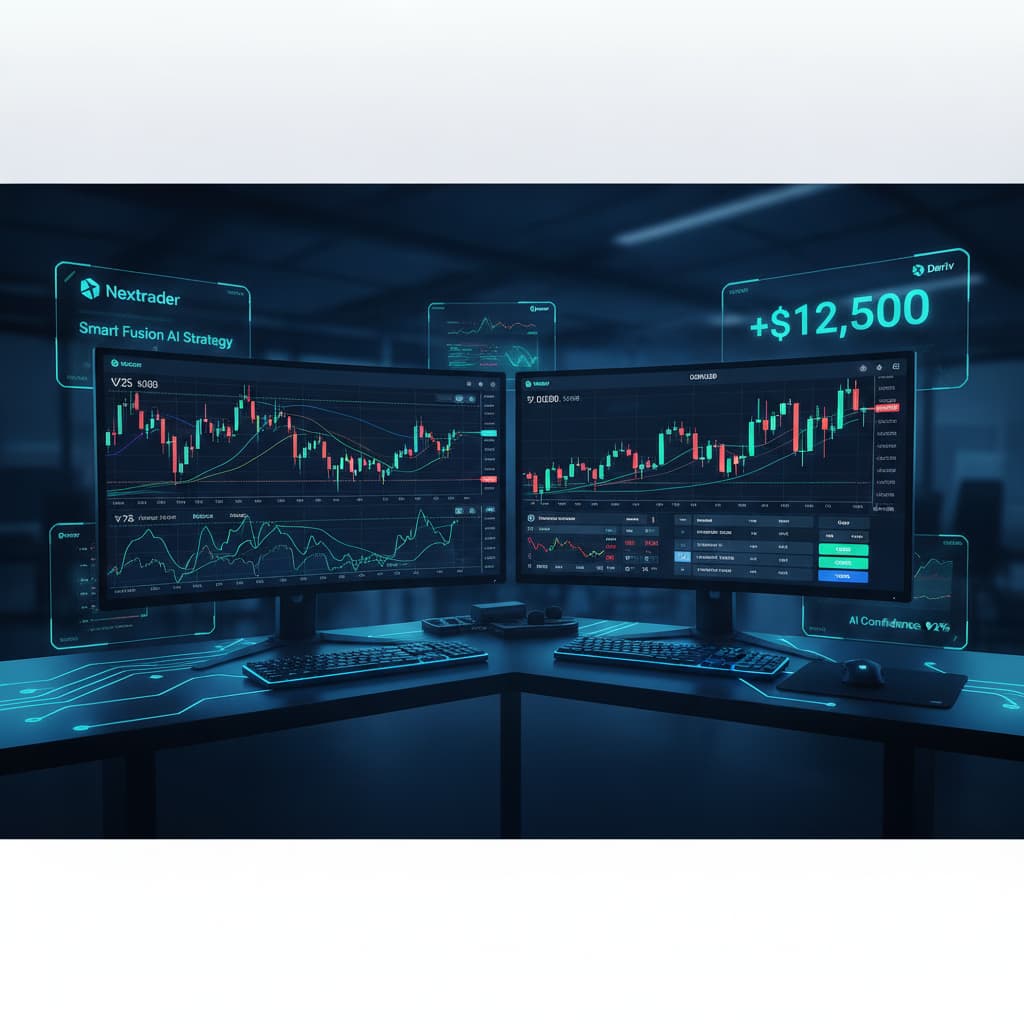
Nextrader offers a 100% free platform, ensuring all features, from advanced AI strategies like Trend Hunter and Reversal Radar to robust money management systems, are unlocked and accessible without any subscriptions or paywalls. Our deriv bots are designed for efficiency and precision, firing signals only on closed candles when a minimum of 3-4 indicators agree, providing you with high-confidence trading opportunities.
What You Need Before Starting
Before diving into the setup, ensure you have the following ready:
Get Live AI Trading Signals
Real-time non-repaint signals from 11 AI strategies — Volatility Indices, Forex, Gold & Crypto. No subscription, no paywall.
- Auto Trader Bot
- Digit Trader Bot
- 11 AI Strategies
- Live Telegram Signals
- Deriv Account: An active Deriv.com account (preferably a demo account for initial testing) with sufficient funds if you plan to trade with real money immediately.
- Nextrader Account: A free Nextrader account. You can sign up easily at Sign Up Free — Nextrader
- Basic Understanding: Familiarity with Deriv's "Higher/Lower" contract type and the characteristics of Volatility 75 Index (V75).
- Stable Internet Connection: To ensure uninterrupted signal reception and trade execution.
Step 1: Connecting Your Deriv Account to Nextrader
The first crucial step is to securely link your Deriv account to Nextrader, enabling the Auto Trader Bot to execute trades on your behalf.
1. Access Nextrader: Open your web browser and navigate to Nextrader App Log in to your Nextrader account. If you don't have one, sign up for free.
2. Navigate to Account Settings: Once logged in, look for the "Accounts" or "Settings" icon, usually found in the top right corner or a sidebar menu. Click on it to access your account management dashboard.
3. Connect Deriv Account: Within the account settings, you'll find an option to "Connect Deriv Account." Click this button. Nextrader utilizes the Deriv WebSocket API integration (App ID 67545) for secure communication.
4. Authorize Permissions: You will be redirected to the Deriv website, where you'll be prompted to log in to your Deriv account (if not already logged in) and authorize Nextrader to trade on your behalf. Ensure you grant the necessary permissions. It's highly recommended to start by connecting your Deriv Demo Account first to test your settings without financial risk.
5. Confirm Connection: After authorization, you'll be redirected back to Nextrader. Your Deriv account (demo or real) should now appear as connected in your Nextrader dashboard, displaying your balance and account details. This connection is vital for all Nextrader deriv bots to function.
Step 2: Selecting the Market and Contract Type
With your Deriv account connected, it's time to tell the Auto Trader Bot what and how to trade.
1. Access Auto Trader Bot: From the Nextrader main dashboard, locate and click on the "Auto Trader Bot" section. This is where you'll configure your automated trading strategies.
2. Choose Market Category: Within the Auto Trader Bot interface, you'll see various market categories. Select "Volatility Indices" from the dropdown menu or list provided. This will filter the available assets to Deriv's proprietary indices.
3. Select V75 Index: From the list of Volatility Indices, specifically choose "V75 Index." This ensures your bot will only trade on the Volatility 75 market, known for its consistent price movements.
4. Define Contract Type: Next, select "Higher/Lower" as your desired contract type. In Higher/Lower contracts, you predict whether the exit spot of the trade will be strictly higher or strictly lower than the entry spot, plus or minus a predefined offset. This contract type requires precise entry, which Nextrader's signals excel at providing.
5. Set Duration: For Higher/Lower contracts, you'll typically need to set a duration. For V75, short durations like 1-5 ticks or 1-5 minutes are common. For this tutorial, let's assume a 5-tick duration as a starting point, but feel free to experiment.
Step 3: Configuring Your Trading Strategy and Timeframe
Nextrader's strength lies in its diverse AI strategies and real-time signals. Here, you'll select how the bot identifies trading opportunities.
1. Select AI Strategy (or rely on Smart Signals): Within the Auto Trader Bot, you'll find a section for "AI Strategies." Nextrader boasts 11 named strategies like Trend Hunter (EMA crossover), Reversal Radar (RSI), Momentum Wave (MACD), Volatility Pulse (Bollinger Bands), Swift Scalper (Stochastic RSI), Trend Rider (SuperTrend), Cloud Walker (Ichimoku), Price Magnet (VWAP), Breakout Beast (ATR), Smart Fusion (multi-indicator), and Smart Signals (4+ indicators). For automated trading, Nextrader's binary bots typically leverage the power of Smart Signals, which combine multiple indicators to generate high-confidence, non-repaint signals. You can often choose "Smart Signals" or simply rely on the bot to use its best judgment based on the overall signal agreement.
2. Choose Timeframe: Select the timeframe for the signals your bot will act upon. Nextrader offers 4 timeframes: 5min, 10min, 30min, and 1 hour. For V75 Higher/Lower contracts, a 5min or 10min timeframe often provides a good balance between signal frequency and reliability. Let's select 5min for this setup.
3. Set Minimum Confidence Level: Nextrader signals come with a "Confidence Level" (30-85%). This indicates the strength of the signal. For automated trading, it's wise to set a minimum confidence level, for example, 60% or 70%. This ensures your bot only enters trades based on higher-probability signals, filtering out weaker ones.
4. Understand Signal Details: While the bot automates entry, it's good to know that Nextrader signals also provide "Entry price," "Stop Loss," and "Take Profit 1 & 2" levels for manual trading. For Higher/Lower auto trading, the bot uses the signal direction (Higher/Lower) and initiates the contract directly.
Step 4: Implementing Mesa Milano Money Management
Money management is paramount in trading. Nextrader's Mesa Milano strategy offers an intelligent approach to loss recovery.
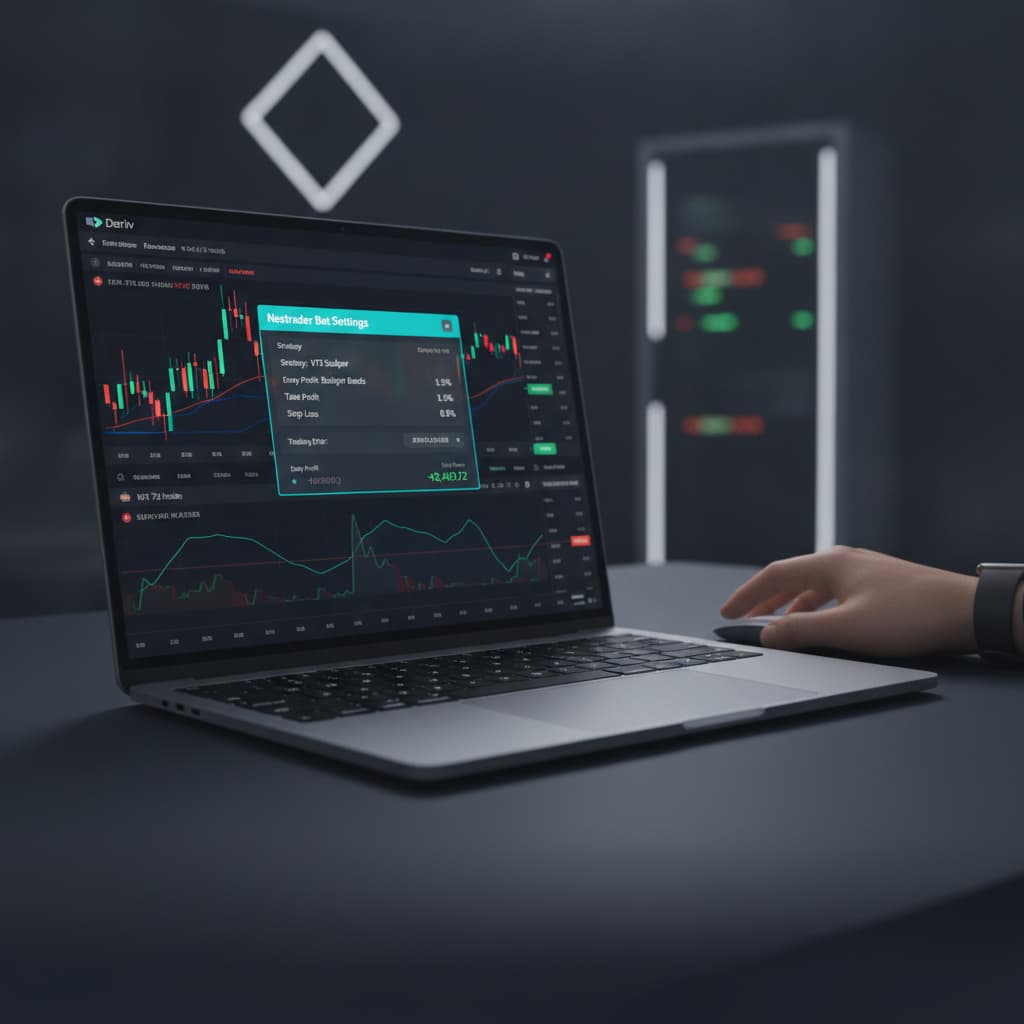
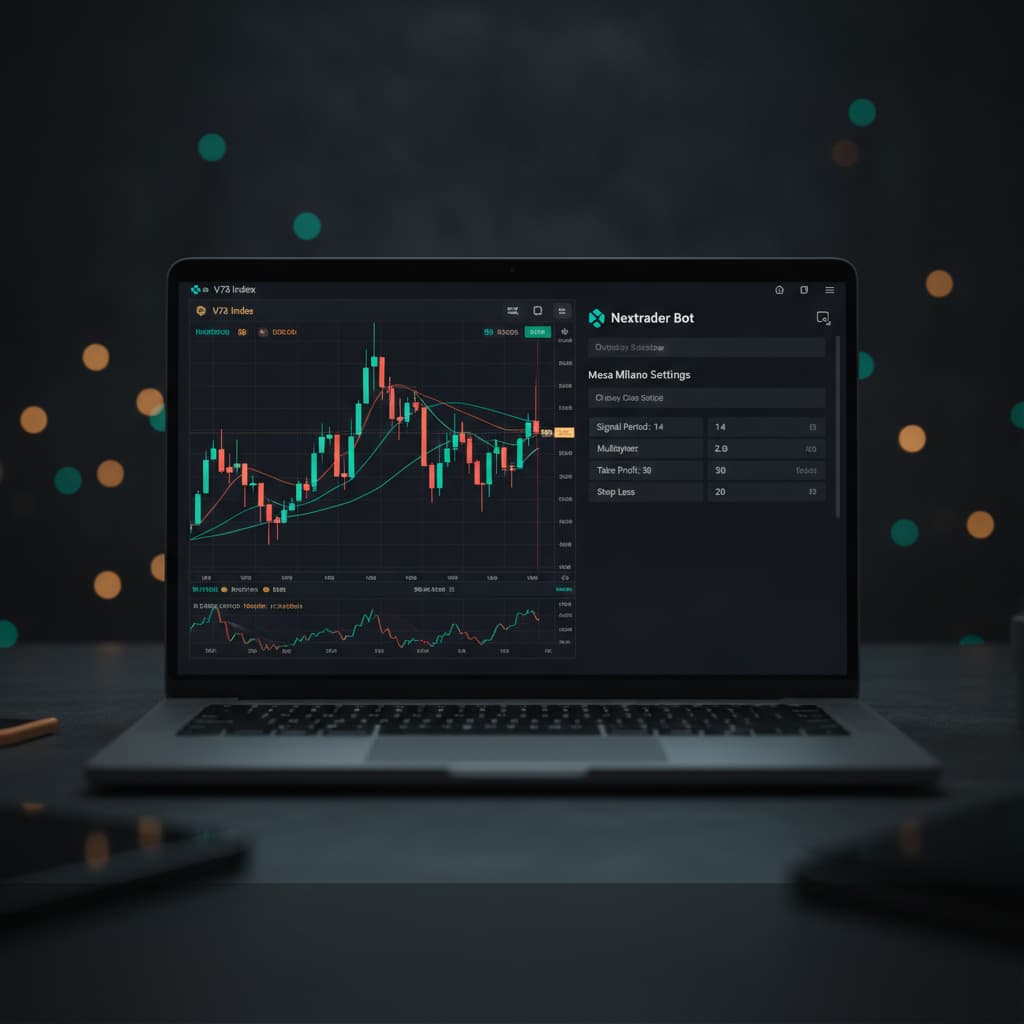
1. Access Money Management Settings: Within the Auto Trader Bot configuration, locate the "Money Management" section. You'll typically see options like Fixed Stake, Martingale, and Mesa Milano.
2. Select Mesa Milano: Choose "Mesa Milano" from the available options. Unlike Martingale, which simply doubles the stake after a loss, Mesa Milano is a smart loss recovery system designed to recover previous losses with minimal risk exposure. It calculates the optimal stake size for the next trade to recoup losses without exponentially increasing your stake.
3. Set Initial Stake: Define your starting stake per trade. This is the amount you're willing to risk on the first trade. For example, set it to $1.00 for a demo account. Always start small, especially when using binary bots.
4. Set Target Profit: Input your desired daily or session target profit. Once this target is reached, the bot can automatically pause or stop trading. For instance, set a target of $10.00.
5. Set Max Loss (Optional but Recommended): To protect your capital, set a maximum allowable loss for the session. If the total loss reaches this amount, the bot will stop. For example, set a max loss of $20.00. This is a critical risk management feature for all deriv trading tools.
6. Understand Mesa Milano in Action: Mesa Milano will intelligently adjust the stake after a losing trade, aiming to recover the loss over subsequent trades with a calculated increase, rather than aggressive doubling. This helps in preserving capital and extending your trading sessions.
Step 5: Activating the Auto Trader Bot
You're almost ready to go live! This final step involves reviewing your settings and initiating the bot.
1. Review All Settings: Before activation, meticulously review all the parameters you've configured:
* Market: Volatility Indices > V75 Index
* Contract Type: Higher/Lower (e.g., 5 ticks duration)
* AI Strategy: Smart Signals (or chosen specific strategy)
* Timeframe: 5min
* Minimum Confidence: 60-70% (or your preferred level)
* Money Management: Mesa Milano
* Initial Stake: Your chosen starting amount (e.g., $1.00)
* Target Profit: Your session goal (e.g., $10.00)
* Max Loss: Your risk limit (e.g., $20.00)
2. Start the Bot: Once you're confident in your settings, locate the "Start Bot" or "Activate" button, typically prominently displayed in the Auto Trader Bot interface. Click it to initiate automated trading.
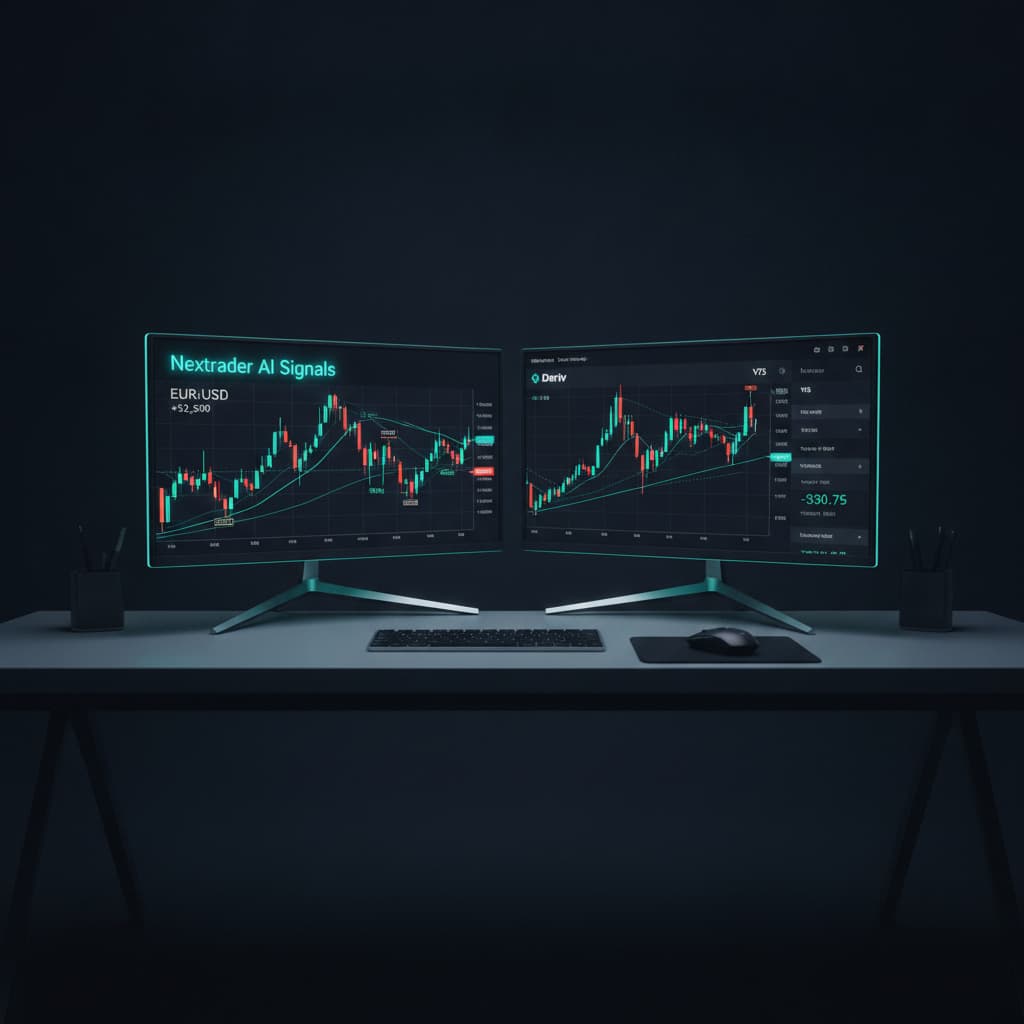
3. Monitor Performance: As the bot starts trading, keep an eye on the "Real-time color-coded trading console" at the bottom of your screen. This console provides live updates on trade entries, outcomes, and your "live P&L tracking." You'll see signals being received (firing only on CLOSED candles), trades being placed, and the results appearing almost instantly.
4. Initial Demo Run: Again, it cannot be stressed enough: Always start with your Deriv Demo Account for the first few hours or even days. Observe how the bot performs under various market conditions, verify that Mesa Milano is adjusting stakes as expected, and ensure the signals align with your expectations. This crucial testing phase helps you fine-tune your strategy before committing real funds.
Pro Tips
- Experiment with Timeframes & Strategies: While 5min V75 Higher/Lower with Smart Signals is a great starting point, different Volatility Indices (V10, V25, V50, V100 + 1Hz) and contract types might perform better with specific timeframes (10min, 30min, 1 hour) or AI strategies. Try Reversal Radar for identifying turning points or Trend Hunter for strong trends. Nextrader's flexibility makes it one of the most versatile deriv trading tools.
- Utilize Confidence Levels Wisely: Adjusting the minimum confidence level (30–85%) for signals can significantly impact your bot's performance. Higher confidence means fewer but potentially stronger signals, while lower confidence allows for more frequent trading, but with potentially higher risk.
- Monitor V75 Market Conditions: Even with automated binary bots, it's beneficial to have a general awareness of V75's current volatility and trend. While Nextrader's signals are robust, understanding the market context can help you decide when to pause or adjust your bot.
- Explore Other Bots & Features: Nextrader isn't just about the Auto Trader Bot. Don't forget to explore the powerful Digit Trader Bot for AI last-digit prediction (DIGITEVEN/ODD/OVER/UNDER/MATCH/DIFF) or the Accumulator strategy for 1x–5x growth rate trading modes. These diverse deriv bots offer unique opportunities.
Start Trading Now
Ready to revolutionize your Deriv trading experience? Head over to Nextrader App to log in or Sign Up Free — Nextrader to create your free account today. For real-time signals across 30 markets, join our Telegram channel at Telegram.
Trading involves risk. Past performance does not guarantee future results.