Introduction
Welcome to Nextrader, your go-to platform for powerful, 100% free trading signals and automation tools. In this comprehensive tutorial, we'll guide you through setting up a sophisticated automated trading system designed to tackle the dynamic Volatility 75 Index (V75) on Deriv. This guide is tailored for traders seeking to leverage the precision of Nextrader's Smart Signals strategy, the efficiency of the Auto Trader Bot, and the intelligent risk management capabilities of Mesa Milano for Rise/Fall contracts.
By following these detailed, step-by-step instructions, you will learn how to seamlessly integrate your Deriv account with Nextrader, configure specific market parameters, and deploy an automated trading solution that works tirelessly on your behalf. Our goal is to empower you to automate your V75 Rise/Fall trades, enhancing your trading discipline and allowing you to capitalize on market movements with confidence, all without any subscriptions or paywalls.
This tutorial will equip you with the knowledge to set up one of the most effective deriv bots available, transforming your approach to V75 trading. Get ready to unlock the full potential of Nextrader’s advanced deriv trading tools and streamline your trading journey.
What You Need Before Starting
- A Deriv.com Account: Both a real or demo account will work. We strongly recommend starting with a demo account to familiarize yourself with the process.
- A Nextrader Account: If you don’t have one, sign up for free at Sign Up Free — Nextrader. All features are unlocked from the start.
- Basic Understanding of Deriv Rise/Fall Contracts: Familiarity with how these contract types work on Volatility Indices is beneficial.
- Stable Internet Connection: Essential for real-time signal processing and trade execution.
Step 1: Connect Your Deriv Account to Nextrader
The first crucial step is to link your Deriv trading account with the Nextrader platform. This secure connection allows Nextrader to execute trades on your behalf using its powerful signal generation and automation features.
Get Live AI Trading Signals
Real-time non-repaint signals from 11 AI strategies — Volatility Indices, Forex, Gold & Crypto. No subscription, no paywall.
- Auto Trader Bot
- Digit Trader Bot
- 11 AI Strategies
- Live Telegram Signals
1. Access Nextrader: Open your web browser and navigate to Nextrader App.
2. Log In or Sign Up: If you're new, quickly sign up for your free Nextrader account. If you already have one, simply log in.
3. Navigate to Account Connection: Once logged in, look for the "Accounts" or "Connect Deriv" section, typically found on the sidebar or dashboard. Nextrader supports multi-account functionality, so you can manage several Deriv accounts if needed.
4. Initiate Connection: Click on the "Connect Deriv" button. Nextrader utilizes the Deriv WebSocket API integration (App ID 67545) for a robust and secure link.
5. Choose Account Type: You will be prompted to either connect a "Real" or "Demo" Deriv account. For this tutorial, and especially when experimenting with new strategies, we highly recommend selecting your Deriv Demo Account first. This allows you to test the automation without any financial risk.
6. Authorize Nextrader: You'll be redirected to Deriv's authorization page. Log in to your Deriv account there and grant Nextrader the necessary permissions. This is a standard OAuth 2.0 process, ensuring your credentials remain secure with Deriv.
7. Verify Connection: Once authorized, you'll be redirected back to Nextrader, and your Deriv account details (e.g., balance, account type) should now be visible in the "Accounts" section, confirming a successful connection. Nextrader's real-time color-coded trading console will soon begin reflecting your account activity once trading commences.
Step 2: Select V75 and Configure Smart Signals
With your Deriv account connected, the next step involves pinpointing the market you want to trade and activating Nextrader's intelligent signal generation. We'll focus on the Volatility 75 Index (V75) and leverage the cutting-edge Smart Signals strategy.
1. Navigate to the Trading Console/Signals: From your Nextrader dashboard, find the "Trading Console" or "Signals" section. This is where you'll configure your market and strategy.
2. Select Market Category: Under the "Markets" filter, choose "Volatility Indices." Nextrader offers a wide range of markets including V10, V25, V50, V75, V100, 1Hz, Forex, Gold, Silver, and Crypto.
3. Choose V75: From the list of Volatility Indices, specifically select "V75" (Volatility 75 Index). This index is known for its consistent volatility, making it a popular choice for traders utilizing deriv trading tools.
4. Select Timeframe: Next, choose your preferred timeframe for the signals. Nextrader offers 5min, 10min, 30min, and 1 hour signals.
* For more frequent signals suitable for scalping or active trading, consider 5min or 10min.
* For potentially stronger, less frequent signals that align with longer-term trends, 30min or 1 hour might be more appropriate.
For this tutorial, let’s start with 10min to get a good balance of frequency and reliability.
5. Activate Smart Signals Strategy: Nextrader offers 11 named AI strategies like Trend Hunter (EMA crossover), Reversal Radar (RSI), and Momentum Wave (MACD). However, for this setup, we will specifically utilize Smart Signals.
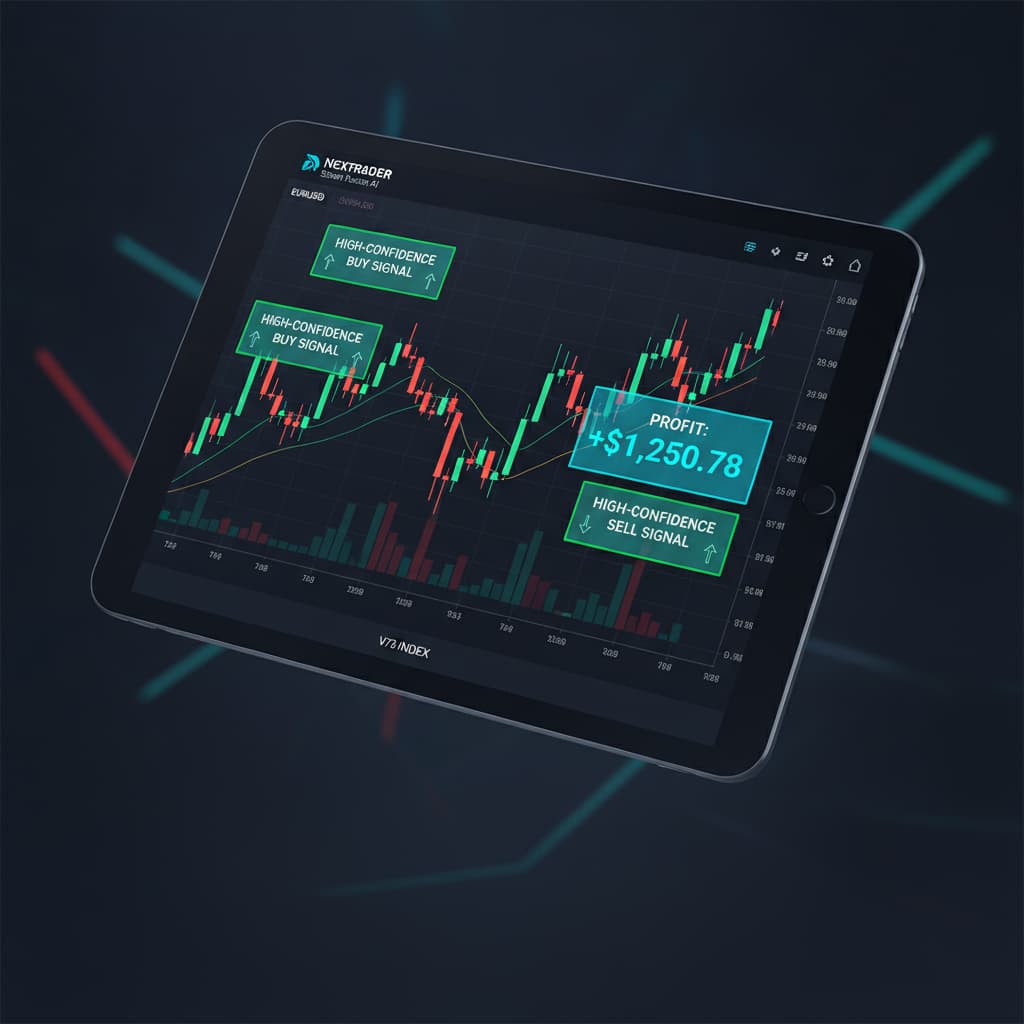
* Smart Signals is Nextrader's most advanced strategy, designed to fire only on CLOSED candles and requires a minimum of 3-4 indicators to agree before generating a signal. This multi-indicator confirmation significantly enhances the reliability of the signals, reducing false positives and providing high-confidence entry points.
* Ensure "Smart Signals" is selected as your primary signal source. You'll see real-time non-repaint trading signals appear in your console, each with a confidence level (30–85%), Entry price, Stop Loss, and Take Profit 1 & 2.
Step 3: Activate the Auto Trader Bot for Rise/Fall Contracts
Now that your market and signal strategy are defined, it's time to unleash the power of Nextrader's Auto Trader Bot. This powerful feature automates trade execution based on the Smart Signals you've configured.
1. Navigate to the Auto Trader Bot Section: From the Nextrader dashboard, locate and click on the "Auto Trader Bot" section. This is where you'll transform your signals into automated actions.
2. Enable the Bot: At the top of the Auto Trader Bot interface, there will be an "Enable Bot" toggle or button. Click this to activate the bot's readiness to trade.
3. Select Contract Type: Under the "Contract Type" options, choose "Rise/Fall." This tells the bot to place either a "Rise" contract (predicting the price will be higher than the entry point at expiry) or a "Fall" contract (predicting the price will be lower).
4. Set Duration: Determine the duration for your Rise/Fall contracts. This is how long each trade will last.
* For the 10min timeframe V75 signals we selected, a duration of 1 or 2 minutes is often effective for quick scalping, allowing the bot to react swiftly to price movements following a signal. Experiment with different durations on a demo account.
5. Define Initial Stake: Set your initial "Stake" – this is the amount of capital the bot will use for the very first trade in a sequence. Remember, this is a crucial money management decision. Start with a small stake, especially on a demo account. For example, you might start with $0.35 or $1.00.
6. Confirm Strategy Source: Double-check that the Auto Trader Bot is set to receive signals from the "Smart Signals" strategy (which we configured in Step 2). This ensures that the bot acts only on the highly corroborated signals generated by Nextrader's multi-indicator analysis. Nextrader's auto trader bot is one of the most versatile deriv bots available, allowing you to automate various contract types across multiple markets.
Step 4: Implement Mesa Milano for Intelligent Money Management
Effective money management is the cornerstone of sustainable trading. Nextrader's Auto Trader Bot offers several money management strategies, and for this setup, we'll employ the "Mesa Milano" system for its smart loss recovery capabilities.
1. Locate Money Management Settings: Within the Auto Trader Bot configuration, scroll down to the "Money Management" section.
2. Select Mesa Milano: You'll see options like "Fixed Stake," "Martingale," and "Mesa Milano." Choose "Mesa Milano."
3. Understand Mesa Milano: Unlike a simple Martingale system that exponentially increases stake after every loss, Mesa Milano is designed for "smart loss recovery." It intelligently adjusts your stake in a controlled manner after a loss, aiming to recover previous losses and generate a profit with subsequent winning trades, without exposing your capital to excessively high risks inherent in pure Martingale strategies. It's a more refined approach to loss recovery, making it a powerful feature among binary bots.
4. Configure Mesa Milano Parameters (If Applicable): Nextrader automates much of the Mesa Milano logic, but you might have options to set:
* Initial Stake: This should match the stake you set in Step 3.
* Maximum Loss Limit: This is a crucial safety feature. Set a maximum amount you are willing to lose before the bot stops trading for the day or resets. This prevents prolonged losing streaks from depleting your account. For example, you might set a limit of 5% or 10% of your account balance.
* Profit Target: While not directly part of Mesa Milano's core logic, you might find a separate "Profit Target" setting in the Auto Trader Bot. Setting this (e.g., 2-5% of your balance) can help in locking in gains and promoting disciplined trading.
5. Importance of Demo Testing: It's absolutely vital to test Mesa Milano thoroughly on your Deriv demo account. Observe how it adjusts stakes after wins and losses, and how it handles various market conditions. This will give you confidence before deploying it on a real account. This intelligent money management system is a key differentiator among deriv trading tools.
Step 5: Launch and Monitor Your Automated Trading System
With all the components configured, the final step is to activate your automated system and keep a watchful eye on its performance.
1. Review All Settings: Before hitting the "Start" button, take a moment to carefully review every setting:
* Deriv Account: Ensure you're on the correct (preferably demo) account.
* Market: V75
* Timeframe: 10min
* Strategy: Smart Signals
* Contract Type: Rise/Fall
* Duration: 1 or 2 minutes
* Initial Stake: Your chosen starting amount.
* Money Management: Mesa Milano, with any configured loss limits or profit targets.
2. Observe Incoming Signals: In the "Trading Console," you'll see Smart Signals for V75 coming in. Pay attention to their "Confidence Levels" (30–85%). The higher the confidence, the stronger the signal.
3. Start the Auto Trader Bot: Once you are confident in your settings, click the "Start Bot" or "Run" button within the Auto Trader Bot section. The bot will now begin listening for V75 10min Smart Signals and executing Rise/Fall contracts on your Deriv account according to your Mesa Milano money management rules.
4. Monitor Live Performance: Nextrader's "Real-time color-coded trading console" will immediately start displaying your bot's activity. You'll see trades being placed, their outcomes, and your "Live P&L tracking" updating in real-time.
5. Adjust and Optimize: Automated trading is not a "set it and forget it" endeavor, especially initially.
* Observe: How does the bot perform during different times of the day? Does Mesa Milano recover losses effectively?
* Adjust: You might need to tweak the duration, initial stake, or even the timeframe if you notice consistent issues.
* Stop/Pause: You can pause or stop the bot at any time from the Auto Trader Bot interface if you need to make adjustments or if market conditions become unfavorable. Remember, you are in control of these powerful deriv bots.
Pro Tips
1. Always Start with a Deriv Demo Account: This cannot be stressed enough. Test your entire setup, including Mesa Milano's behavior, on a demo account until you are fully comfortable and profitable before moving to a real account.
2. Understand Signal Confidence Levels: Nextrader provides confidence levels for each signal. While Smart Signals are already highly filtered, you might consider setting a minimum confidence threshold for your bot if such an option is available, to only act on the strongest signals.
3. Experiment with Timeframes: While we used 10min, V75 can react differently on 5min, 30min, or 1-hour timeframes. Experiment to find the sweet spot that aligns best with Smart Signals and Mesa Milano for your trading style.
4. Integrate with Other Nextrader Tools: Even with automation, sometimes a quick manual check of other Nextrader strategies like "Trend Hunter" for overall direction or "Reversal Radar" for potential turns can provide valuable context, especially if you're managing multiple deriv bots. Don't forget the Digit Trader Bot for entirely different contract types, showcasing the versatility of Nextrader's binary bots.
Start Trading Now
Ready to automate your V75 Rise/Fall trades with precision? Head over to Nextrader App to log in or Sign Up Free — Nextrader to create your free account. For real-time signal updates across 30 markets, join our Telegram channel: Telegram.
Trading involves risk. Past performance does not guarantee future results.